With Facebook’s introduction of the metaverse in 2021, there has been plenty of talk about who will win in the new virtual space. As VR technology evolved from a lab concept to a real product, several companies jumped in to create consumer level headsets. HP initially decided to get in by sticking to what it knows well, creating a wearable virtual reality capable computer in 2017. But they also found a willing market of enterprise users for VR headsets and set out to create the HP Reverb. In 2020, they released an updated version and also used the same platform for a consumer grade product. We wanted to open it up to take a closer look at one of the best hardware interfaces into the metaverse.
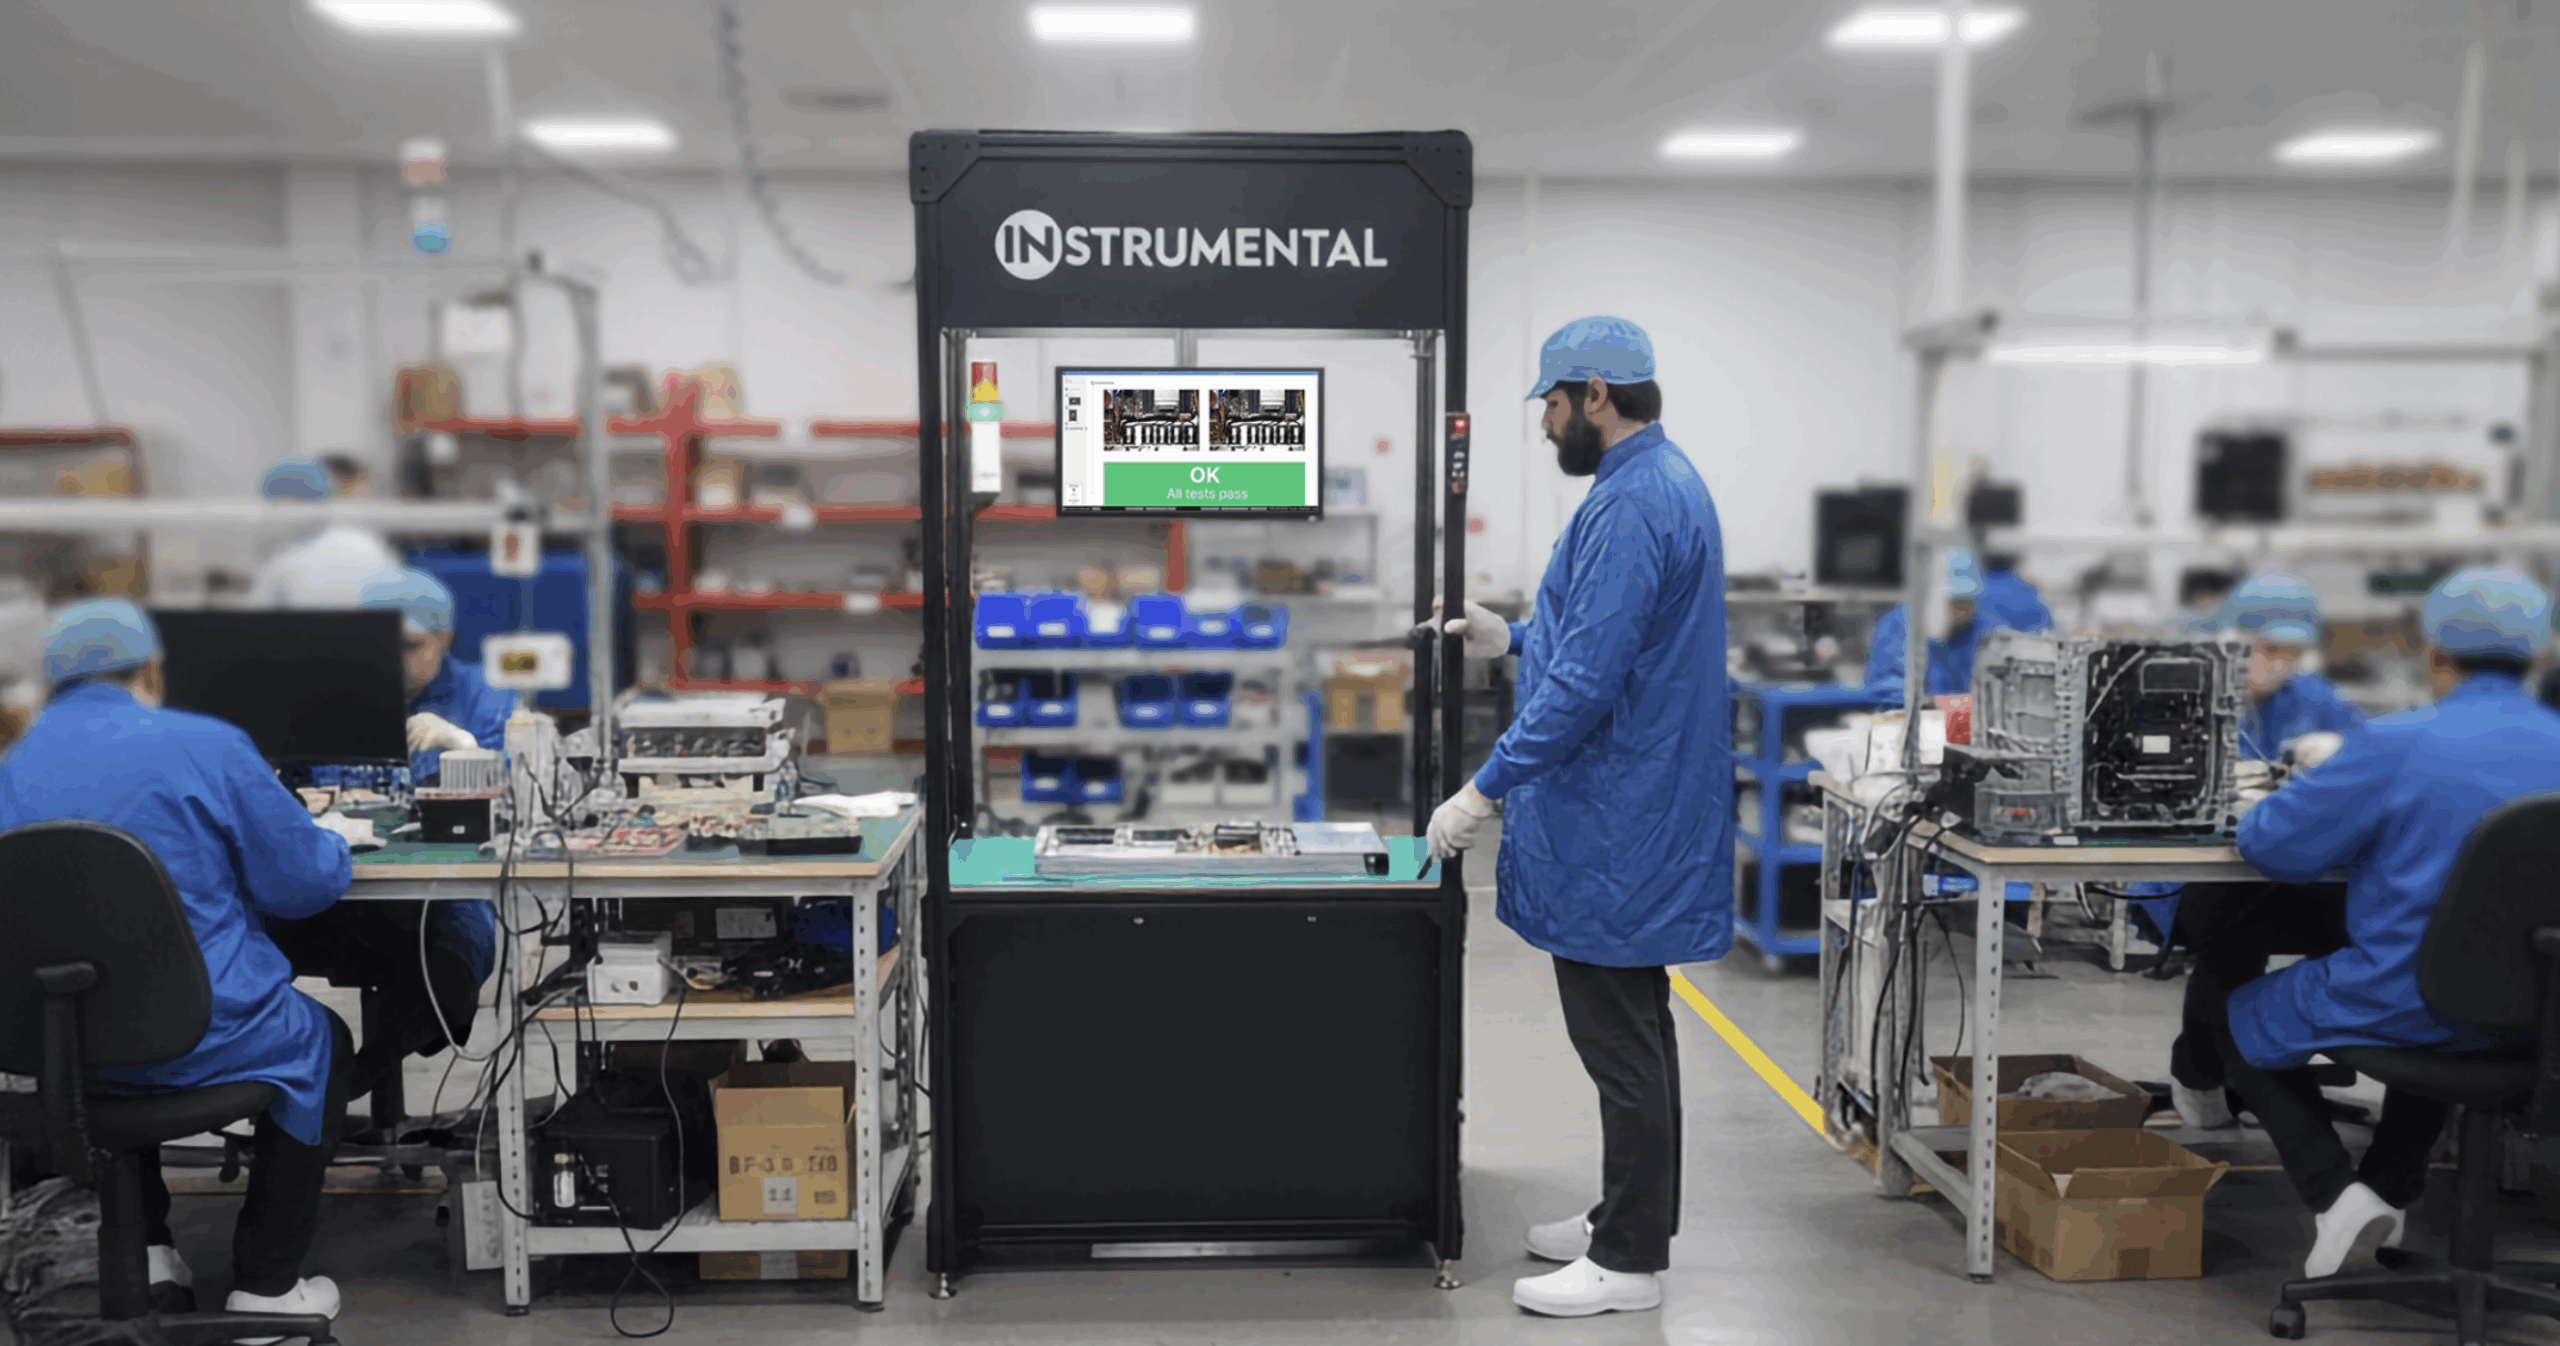
Along with Tobias and myself, on this episode of Change Notice Unsnapped, we were joined by former Google engineer Molly McShane who is now a solutions architect at Instrumental. Together, we explored the unique design challenges of a VR headset and some of the interesting features of the HP Reverb G2.

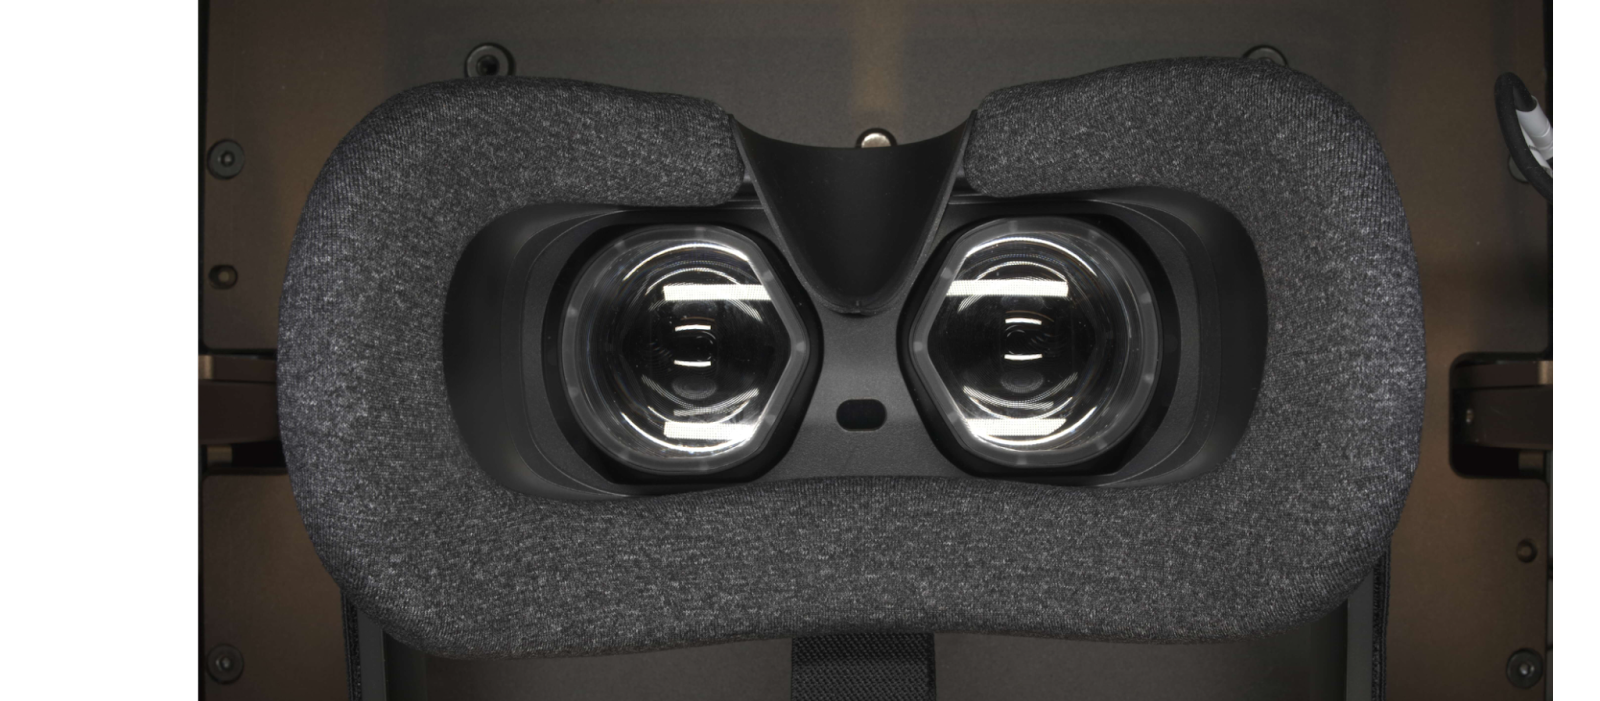
User view of the HP Reverb G2
Start of teardown
The Reverb G2 is not a small product by any means but it is designed to be ultimately adjustable and comfortable for long periods of time spent in virtual reality. The engineers had to incorporate several mechanisms and features to accommodate different head sizes and face shapes including rotating and sliding speakers, head straps, a glasses spacer, and even lenses that fit a wide range of interpupillary distance which is the distance between your eyes. In addition to some complicated lens assemblies, there are also 4 cameras used for spatial tracking.
Unscrewing 4 deeply set screws from the lens side of the headset lets us pop off the front cover using only a pair of guitar picks from our handy iFixit kit. Immediately we get a look at the main pcb and all the major connections to the rest of the hardware in this headset. There are 2 large flex cables for each lens assembly and then 4 additional cables to the cameras. There are also 2 sets of connections for the speakers and microphones. At the center is a large shield can.

Main circuit board of the HP Reverb G2 after unsnapping the front cover
Tobias and Molly took us through a closer look on the Instrumental platform of the various connectors and clean design of the board. By luck, several engineers from HP tuned into the episode including one of the lead mechanical designers so we were able to validate some of our theories in real time.
One area that caught Tobias’s attention was the interesting speaker connectors. With little windows in them covered by kapton tape, we speculated that this could be a validation point to make sure the plugs are inserted all the way. However, HP designers also made heavy use of insertion lines and labels on the boards and flex cables which helpfully indicate when something is pushed in all the way. We then theorized that because the hole is close to the center of mass of the connector, perhaps the kapton was used to ensure the pick and place machine could exert vacuum pressure as it picked it up.
We also noticed some extra tape holding on the speaker cables which reminded Molly of some of her trials at Google trying to track down and reduce unwanted buzz on some speakers. In her role as a solutions architect at Instrumental, she was also able to help a customer correlate issues of unwanted noise on a speaker with some of the routing choices on the product!

Close up of the speaker connector and tape on the cable routing
Making their way around the board, Tobias and Molly noticed a few other interesting nuggets like the mysterious sensor with the solder footprint. The HP engineers on the call suggested some different SKUs might be available which have the connector populated. Taking a look at the HP website later, and indeed there is an Omnicept edition of this headset which is marketed more towards business users and touts a suite of sensor inputs to track heart rate, gaze, and muscle movements.
After the thorough examination of the main board, we turned it back to the live teardown where I was able to remove 8 more screws including the ones that magnetically attract the gasket and hold the main housing to the midframe. With those removed, we were able to pull out the main assembly. I had to pop off the camera covers on the side and remove a couple of connectors but otherwise it was a pretty straightforward architecture.

Lens and frame assembly after removing from the outer plastic housing
With Molly’s experience designing Chromebooks at Google, she was able to identify the main metallic structure in the system as die-cast magnesium which is a great choice for its ability to enhance the structural rigidity and grounding of the product while keeping the weight down. This is likely a big consideration for products designed to sit on the head for long periods of time.
I then unscrewed the main PCBA so we could get a closer look at the underside of the board on the Instrumental platform.

Underside of the main PCBA
While we were pretty impressed with HP’s design throughout the product, we were a little puzzled by the adhesive and foam assembly in the upper right. With a layer of kapton, conductive fabric and conductive foam, it was clear that something more was needed from the design than the engineering team initially specified. But we also noticed some silkscreened lines on the board right where the tape needs to be, showing how considerate the design team was for their manufacturing partners. Peeling back the tape revealed a synaptics chip near the main connector to the PC required to run this product. This usually indicates a noisy set of traces that might get a little warm as well. So to combat these issues, the team at HP added the conductive fabric and a small piece of thermal paste while being careful to shield the rest of the components with the insulative kapton.
In our final few minutes of the episode, we focused on the display modules. To accommodate the interpupillary distance adjustment, the modules sit on steel rails and shift in and out using a clever rack and pinion system which moves them in and out symmetrically about the central gear. One of the assemblies also moves a slider switch on the board to help the electronics know how far apart the lenses are after the user manually adjusts them. In our pre-teardown, we tried to open up the assembly further but found them to be well sealed and we did not have enough time to do a deep dive into an undoubtedly complicated and interesting system.
We took a closer look at what we could see from the outside including the fresnel lensing at the front and the flex cable routing on the back. The steps on the lens help to sharpen the image since the lcd panel behind it is much closer to our eyes in these headsets. It was interesting to see the different cables and connectors for the unified assembly and we suspected that they had to do this to allow for the lenses to move in and out without tearing the flex cables.

Back of a lens module
Just before leaving, I wanted to showcase some of the LED emitters on the controller which was an interesting way to provide alternative tracking to know where your hands are in space.
Overall, we were impressed with the design of the HP Reverb G2 headset. Not only was it relatively easy to disassemble and put back together, it was also cleanly designed with minimal tapes and foams. The indicator marks to show how far to insert connectors and where to use screws were also nice touches. Will HP become the primary hardware gateway into the metaverse? It’s still too early to tell and there is some stiff competition from HTC, Meta, and others, but by putting their hat in the ring, they can only improve upon what is already a very solid product.
Chris Li is a former Amazon Product Design Engineering Manager and teardown lead for Instrumental. He brought multiple generations of the Kindle to market and advised on the first Echo and Fire TV products. He also worked as the VP of Product Design at the healthtech startup, PillDrill, which shipped an award winning medication tracking system. Recently, he joined Agtonomy, an autonomous tractor startup, as a Mechanical Engineer.
Related Topics


