AOI or automated optical inspection systems were first developed in the early 1990s at a time when electronics manufacturing was rapidly transitioning from hand soldering and wiring to Surface Mount Technology (SMT). Component placement became faster and more automated while the components themselves shrank in size allowing for increased component density. Inspection technology needed to keep up with these more complex board assemblies, and AOI was the perfect solution to ensure a quick yet thorough quality check.
Today, AOI is a standard option on most SMT lines, but we are reaching diminishing returns on further enhancing traditional AOI machines by focusing on the physical attributes. Components are still shrinking down to 01005 (0.4 mm by 0.2mm) passives and smaller, but AOI vendors should be focusing on how development itself is changing. The time between development and mass production is getting shorter and more challenging as technology changes and people want to get new products out faster.
Adding pixels and updating software will only make AOI more expensive and take longer to realize the ROI. Instead of accepting that issues are inevitable at the end of the line, we should be looking to bring more solutions to the development process which can then be carried over through mass production. While AOI is a key part of the picture, it is just one part of the holistic data strategy required to drive multi-generational optimizations.
What is AOI?
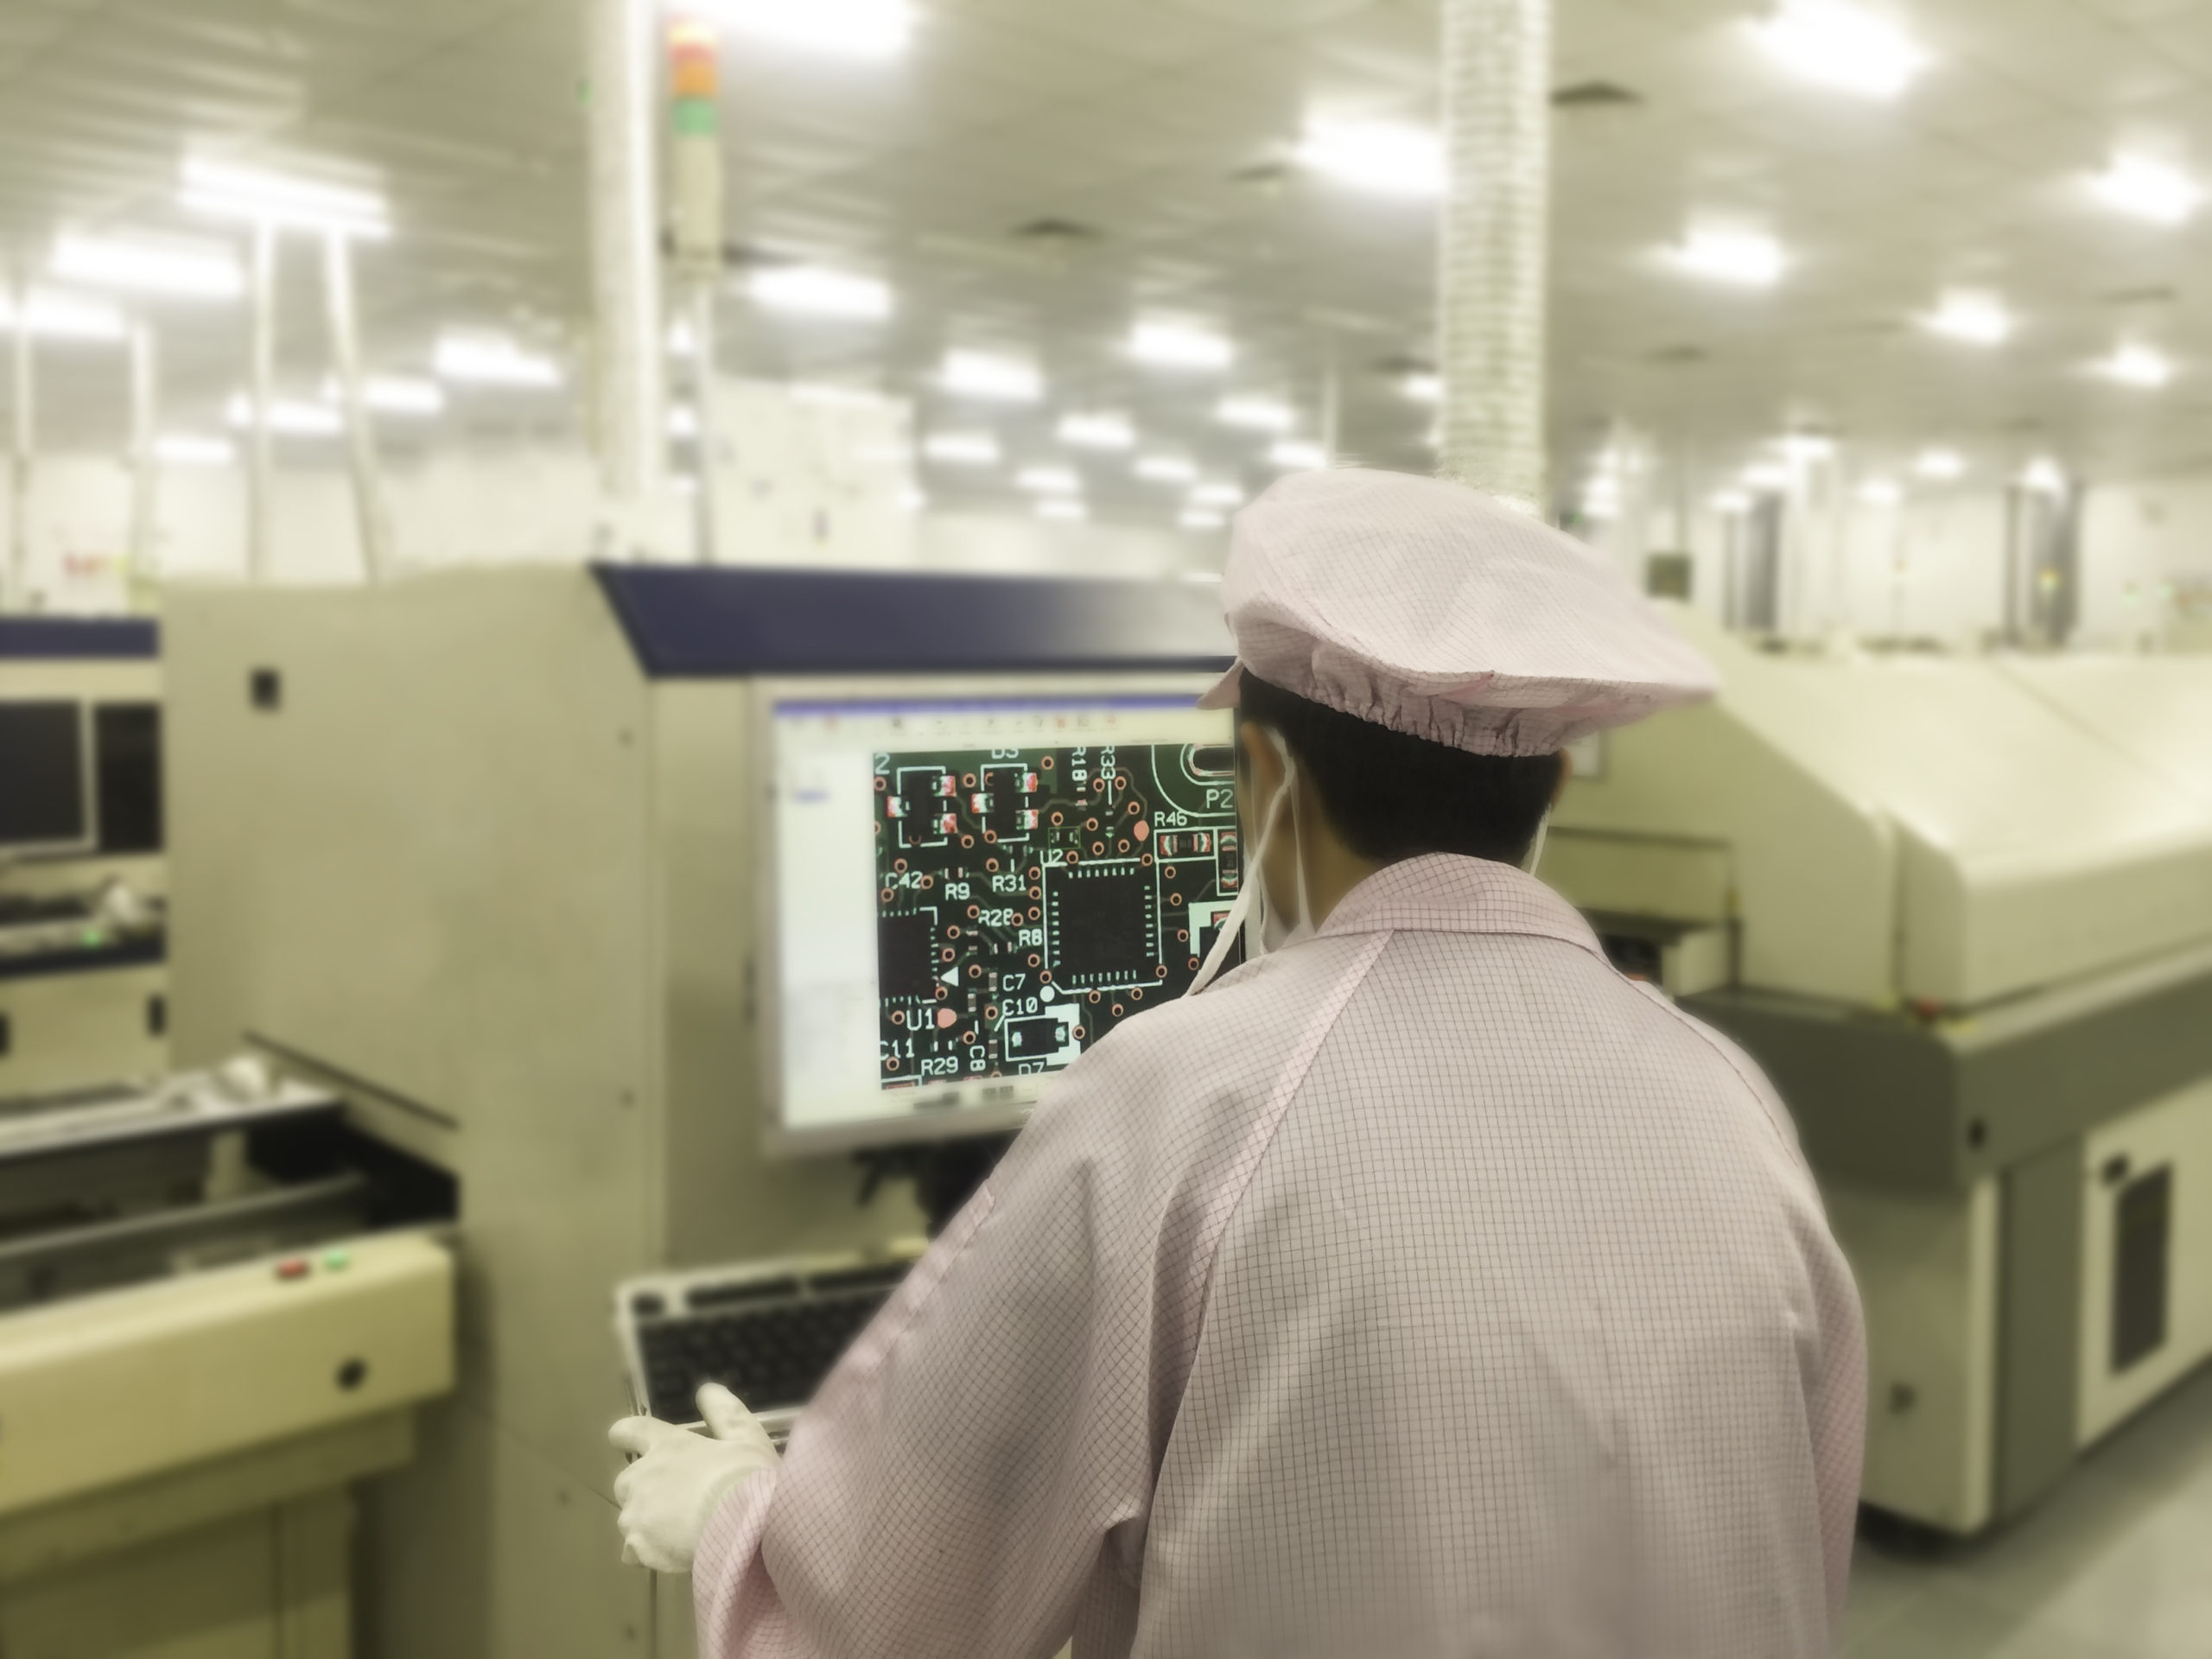
Finely calibrated optical equipment (high-definition cameras, and lighting systems) is paired with sophisticated software in a machine that sits directly in line with the SMT process. To inspect printed circuit board assemblies (PCBAs), the machines take images of every component on the board under precisely controlled lighting conditions designed to highlight and sharpen the edges of the components.
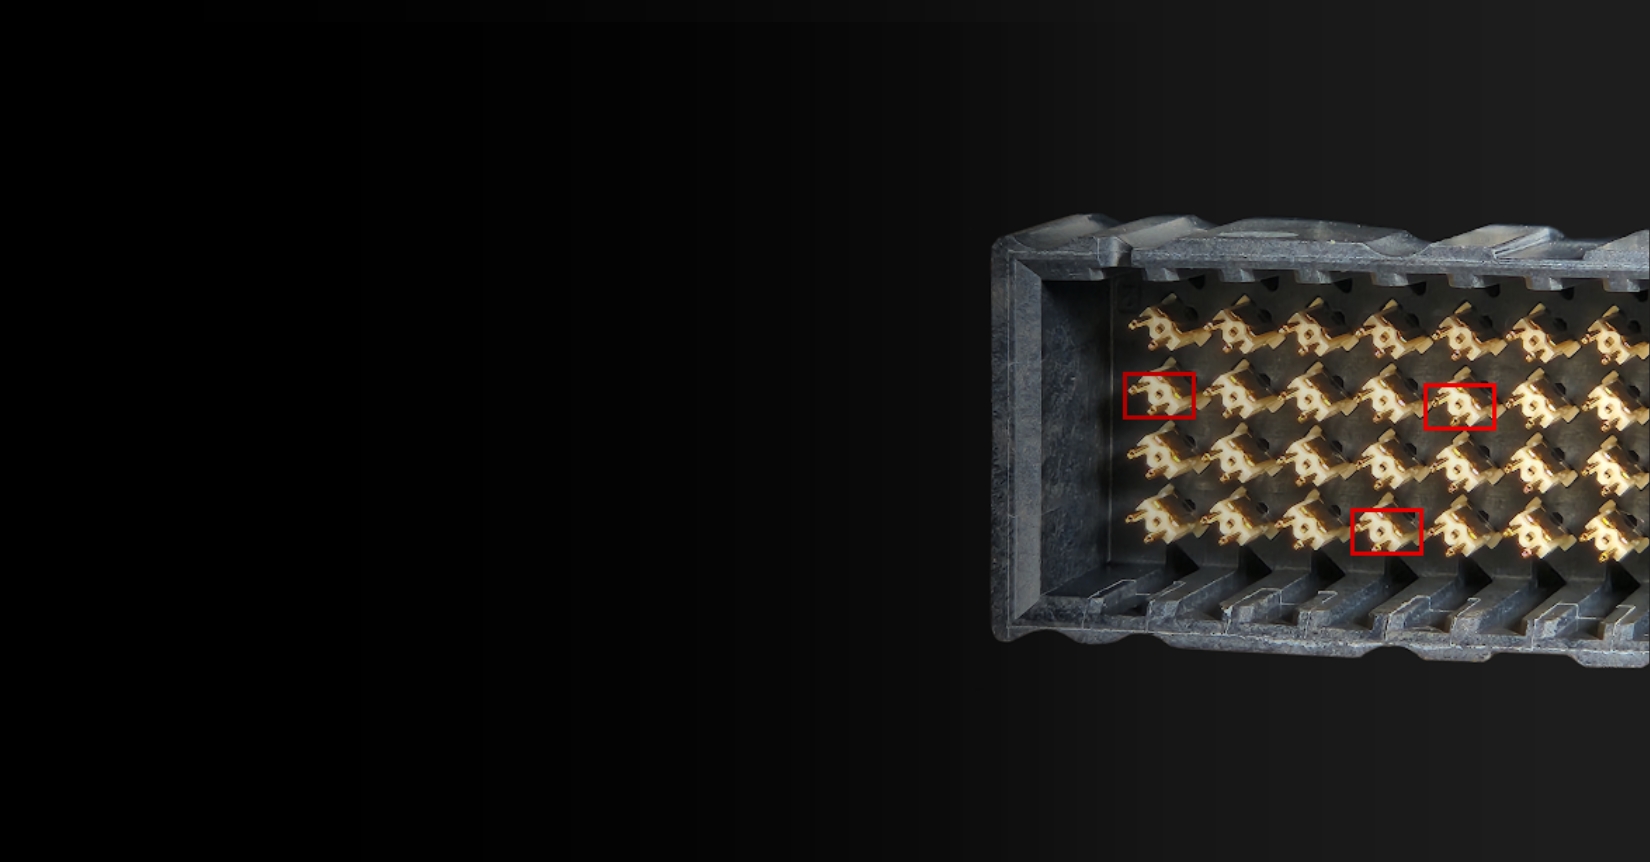
Highly skilled technicians then review the image data and use those edges to define object outline references in the form of squares and rectangles. The machine then uses these guidelines to monitor subsequent board assemblies to see if the components fit within the boundary boxes or not. If a component crosses the predefined lines, the system alerts the SMT technicians to the problem.
These machines are often marketed directly to factories because of their high cost and long-term return on investment. They serve as a method for monitoring the quality of the SMT process and reduce wasted cycle times by removing bad boards from being sent further down the line.
Traditional AOI is built for Mass Production
When AOI was first developed in the 1990s, products were rapidly transitioning to SMT processes. Products brought to market also had long production runs and manufacturers were incentivized to increase their yields without making too many drastic changes to their new production lines. As a result, AOI was developed to fit into the existing SMT line and help the manufacturers catch issues to increase yields while reducing their reliance on manual checking.
The way AOI was developed, and is still used today, operators need to know which components are prone to problems. They then spend time carefully positioning the shape outlines for these pre-flagged parts. For AOI to serve as a proper monitoring system, the parameters need to be tuned just right and focus on the components that would be indicators of a problem with the manufacturing process. If the operator sets the outlines too tightly, a lot of good units might get flagged for being out of spec wasting time on further investigation of good products. Set them too loosely and potentially bad boards will move through to the next phases. On stable, long-running production lines, this initial setup time is negligible and well worth the return on investment.
However, using automated optical inspection systems in development means creating new outlines for every board change and potentially tweaking it further for every configuration. Where the time was negligible on a long-running production line, in a prototype build with quantities in the low hundreds to thousands, the setup work can eat up a disproportionately large amount of time.
For example, performing AOI on an EVT build run of 300 boards could add an extra day of setup and test runs before those boards can be used on the main assembly line. A few boards will need to be run, then, visually inspected and then programmed for several hours.
Only after that, can the rest of the boards be run. If the detection parameters are off, then that might further delay the start of the main build as they are fixed. For some programs, there is never enough time to implement AOI in development and as a result, risk-averse teams are reluctant to change any process by adding it during production.
AOI is designed for SMT
Even though many automated optical inspection systems have a rich feature set and can find increasingly more issues on a board, they are still designed to work best on an SMT line. The machines are carefully calibrated to work on flat boards of standard thicknesses so the camera systems can capture accurate dimensions down to a few microns. While the same machine can be used for many different projects and can accept a wide range of board sizes, it really is not designed to handle anything other than a flat printed circuit board.
AOI systems will need to adapt to the 3D nature of today’s devices. Products are getting more and more complex, often integrating multiple sensors, boards, and mechanical parts. Advances in modeling and manufacturing have enabled teams to create organic shapes and fill that space with technology in new and clever ways. Not all of these components will be able to fit onto a single board because the parts may be designed to sit in different orientations. At the same time, checking the integration of these components is critical to catch potential problems. While AOI is best-suited for SMT, issues are often found elsewhere, like manual FATP processes.
AOI is only part of the picture
Automated optical inspection systems are part of the picture, but in order to make continuous improvements, manufacturers need a complete data repository with real-time inputs.
AOI detection is reliant on operators to define what to look for. If a critical component is not initially set up in the system, any problems with that part could be missed. The feedback mechanism with this setup is reliant on functional tests, trained eyes, or actual failures which take time to surface and even more time to root cause and fix. Once a problem area has been programmed in, AOI systems should allow operators to look back on their existing data and screen any boards that may have had this issue.
Automated optical inspection systems collect a lot of valuable image data. But since it was originally meant for factories to check for problems and increase their yields, the data was not intended to be shared beyond the SMT line. Even if you can review the data, many boards don’t receive their serial numbers until after this process is completed making it difficult to correlate problems in testing with any of the data captured by the AOI.
To make a difference in NPI, automated optical inspection systems need to play a more proactive role in identifying issues as they happen. Not only should they incorporate serial numbers to improve tracking and integration with downstream systems, but they should also take advantage of the of data they already collect and look for anomalies automatically. Machine learning algorithms can be added to help identify issues and connecting the system to the cloud can allow it to alert the broader team in real-time. This can democratize the data and allow team members from around the world a chance to solve an issue before it snowballs into a larger problem.
NPIs are messy
Many of the problems that arise from an NPI build stem from the manual nature of prototype builds themselves. Everyone is learning through trial and error what the best way to assemble the product is. This means the FATP line is often chaotic and inconsistent as operators refine their technique and manufacturing engineers tweak and improve the various jigs and fixtures on the line. A single part being assembled could vary wildly in location if the assembly jig hasn’t been tuned properly. With so much variation, it is hard to screen through the sources of noise to identify what is a real problem worth investigating and what isn’t.
By comparison, the SMT process is one of the most automated steps in an NPI build. With machines doing most of the work to place the components, most prototype boards will be made in a single run where parameters can be more tightly controlled.
If you are relying on AOI to help identify problems in your build, you might catch a few things on the SMT line, but you are leaving a lot of potential sources of error from the more manual parts of the build, namely at the main assembly line.
Instrumental is the future of AOI
Like traditional AOI vendors, Instrumental has built an integrated hardware and software platform that captures image data of units under test. However, Instrumental’s solution goes beyond a typical AOI in the following ways:
First, the data collected by Instrumental is run through a sophisticated AI engine that automatically looks for anomalies and highlights potential issues with as few as 30 units. Instead of training an operator to pre-select what to look for, the AI engine can tell you where to look.
Additionally, other factory data, including images from AOI systems, can be uploaded into the platform to correlate test failures with physical images of the devices making the images infinitely more useful. With all of the data immediately uploaded to the cloud, anyone on the team, from any location can contribute by getting a jump start on troubleshooting and failure analysis.
With AOI, you are limited to just the SMT line for the data you can collect. With Instrumental’s drop-in stations, you can collect data from anywhere else. From upstream suppliers to the main FATP line to return centers, you can easily get stations up and running in less than 30 minutes and start collecting data right away. Because you can capture images from so many different stages of assembly, you could create a comprehensive virtual teardown simply by linking all the image data together by serial number.
Beyond NPI builds, Instrumental’s product can also be used in production to monitor the critical transformations. Much as AOI systems are able to catch minor changes in the production environment by sensing differences from a baseline, Instrumental can do the same for the main FATP line. Even in production, many steps in the main assembly line are performed manually and are subject to operators switching job functions or leaving the factory altogether. Instrumental can keep an eye on these stations to alert you when quality starts to drift.
If you are interested in learning more about how Instrumental can work for your company, contact us at sales@instrumental.com. To learn more about AOI, read our other blog or check out Wikipedia.
Related Topics


