


Recently, Nintendo announced that they had sold over 100 Million Switch devices making it one of the best-selling video game consoles of all time. This past holiday season, with supply chain issues and COVID-19 challenges dragging on, the Switch continued to be a hot commodity selling out nearly everywhere. In fact, when we went to purchase ours for the teardown, they were out of stock and continue to be so. So when we finally got our hands on one it was time to find out what all the fuss was about and see what we could learn from their latest device, the recently released OLED Switch.
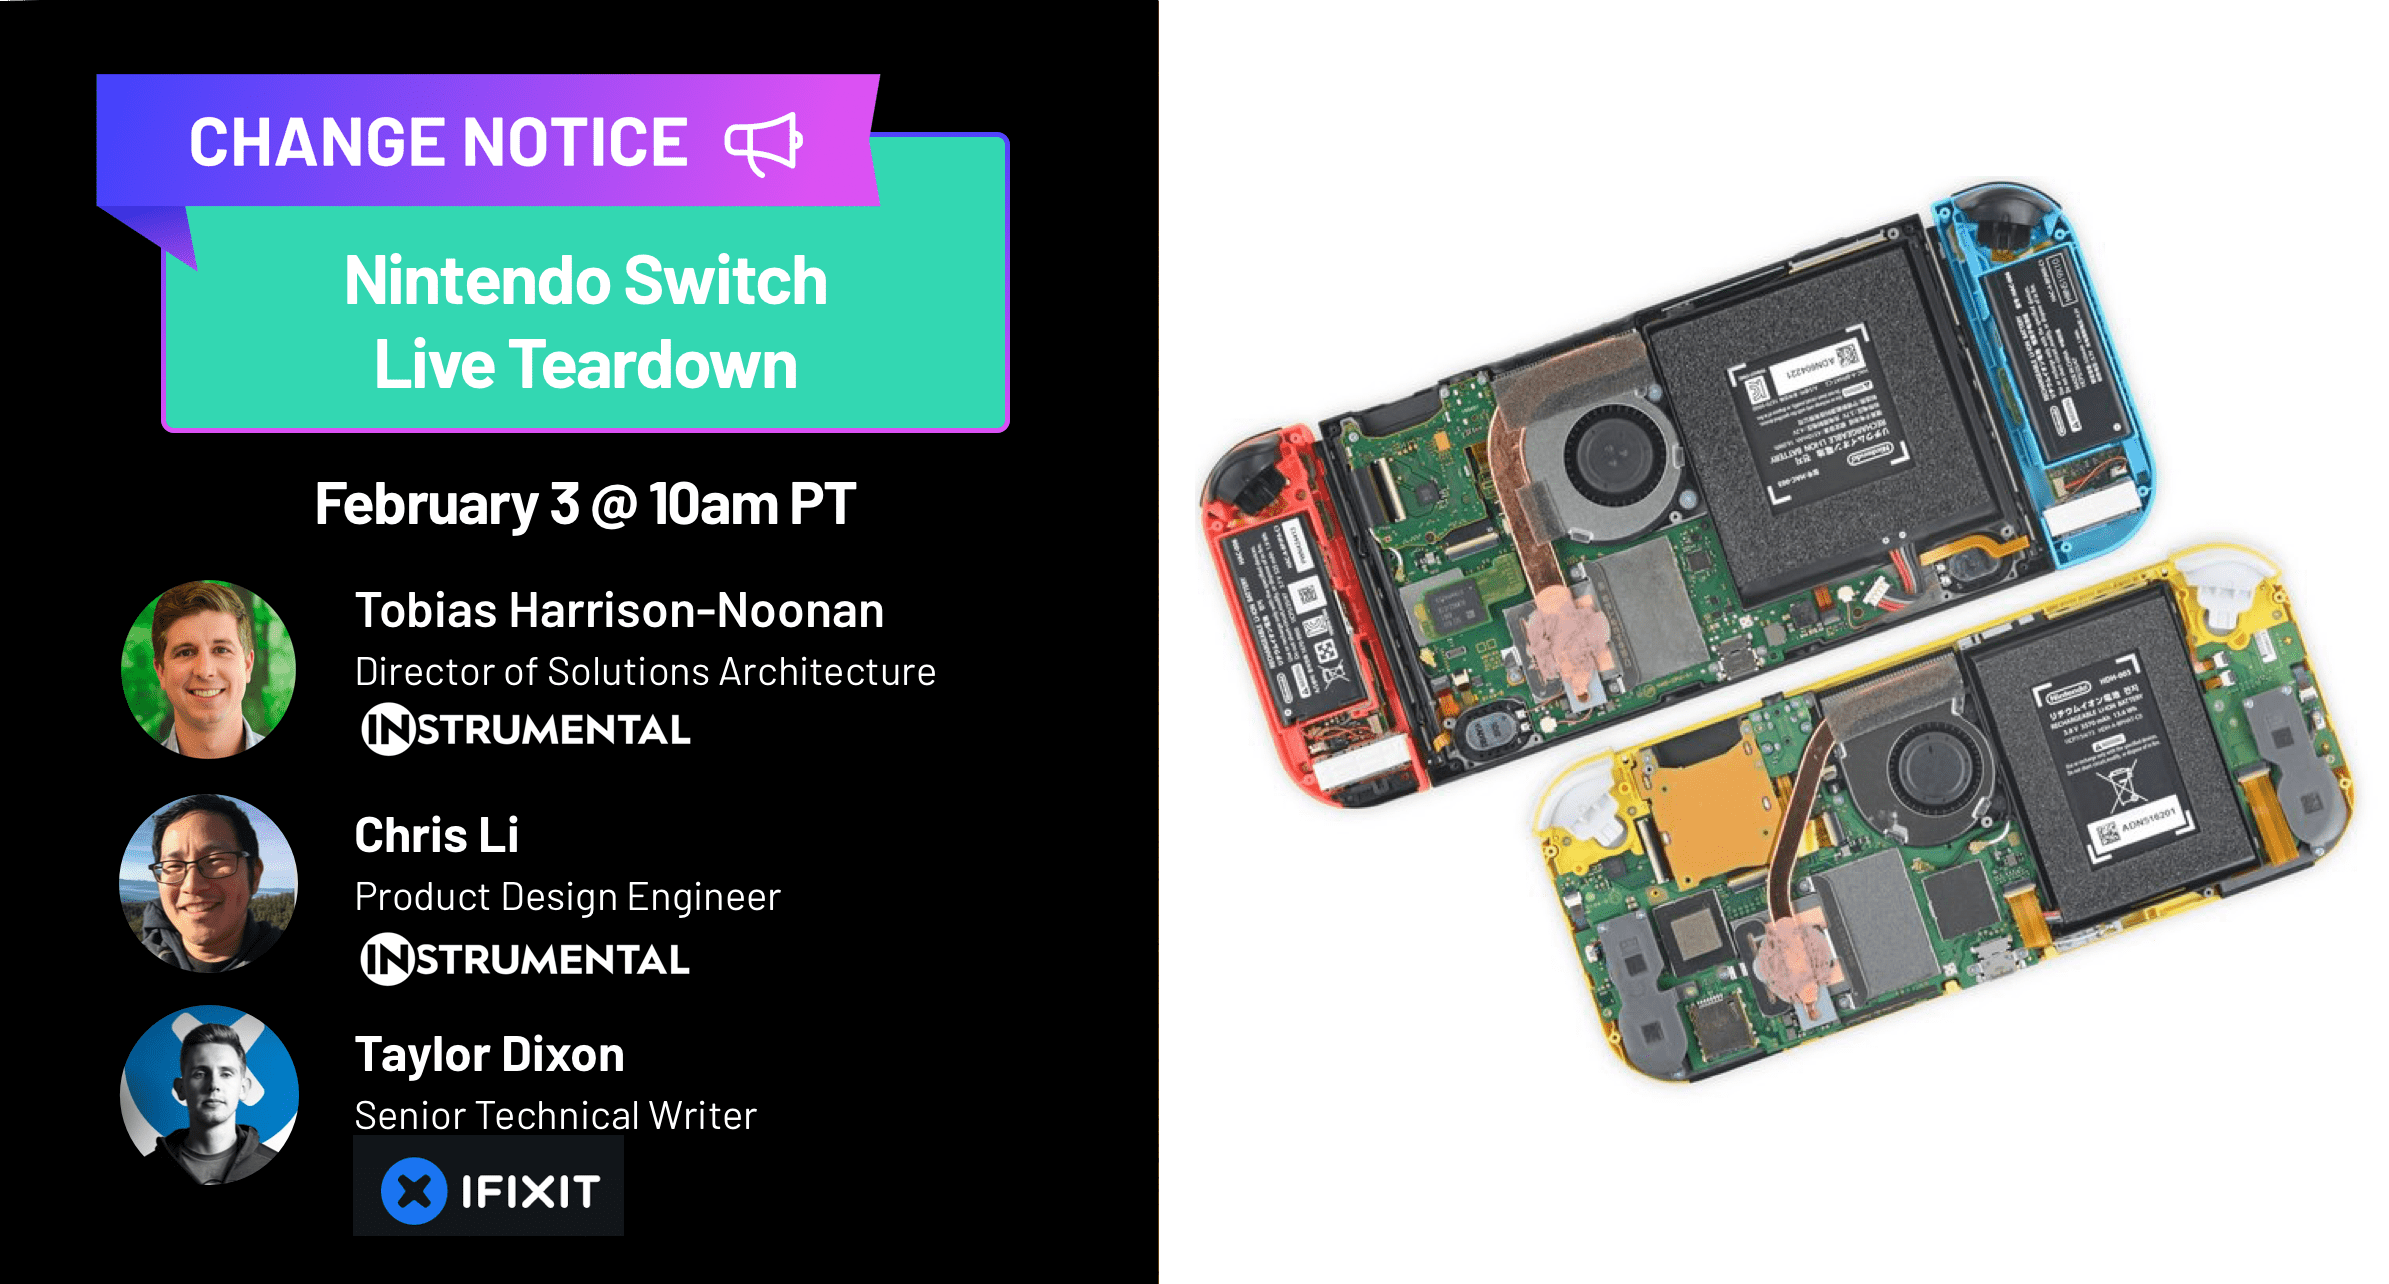
Along with Tobias and myself, on this episode of Change Notice Unsnapped, we were joined by special guest, Taylor Dixon of iFixit who shared some stories from their teardown when it was first released. We began as they did by doing a side-by-side comparison between the new OLED Switch with the original noting the new and much-improved kickstand, overall wider size, and noticeably larger display.
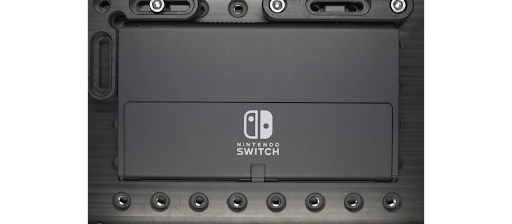
One of the changes on the OLED Switch is that the kickstand spans the entire product now.
To get a look inside, I removed a few different types of screws. Aside from some Phillips screws, we also needed to remove two Tri-wing screws from under the kickstand. We checked our old Switch and sure enough, found them prominently featured as well. While Tobias has had experience with tri-wing screws from his days at Apple, the size of the screws on the Switch did not appear to functionally require the tri-wing head. This led us to guess that Nintendo uses this design to deter people from taking apart their products.
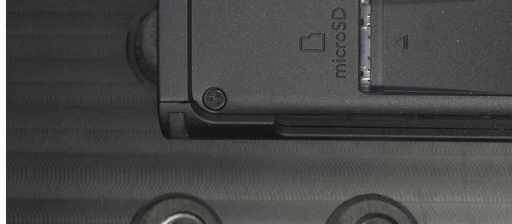
Tri-Wing Screw on the back of the OLED Switch under the kickstand
Once I removed the back, we uncovered a large aluminum shield with two antennas. Switching to the Instrumental platform, we took a closer look at some of their design choices. When Tobias zoomed into the antenna cabling, we were all struck by the one cable twisted almost 270 degrees around before terminating on the PCB. This was likely done to provide a service loop for assembly but it could have some effect on the antenna performance. Tobias shared that one of Instrumental’s customers recently used the platform to identify a correlation between inconsistent antenna connector assembly and poor performance.

Metal shield and heat spreader inside the back of the OLED Switch. You can also clearly see the antennas and the cable routing to the central connection points.
Below the antenna connections, we also noticed several cutouts and details on the sheet metal. We fielded a good question from the audience asking why Nintendo uses a dimpled pattern on the part. Since not all the areas of the part are dimpled, we believe that this was an intentional manufacturing choice on the larger surface areas. The open slots by the USB-C connector are probably there to direct air from the bottom vents over the PCB before getting funneled through the fan. Because the vents are see-through, black tape was added to cover the shiny silver edge of the shield.
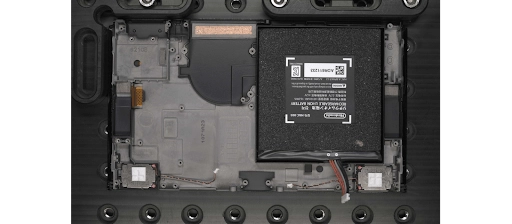
While we explored the high-resolution images on the platform, I removed the 8 screws that held the shield in place to reveal the main guts of the product. Switching back to the live teardown, the first thing that stands out is the thermal solution with a copper heat pipe securely attached over a shield directing heat to a heat sink made of thin fins just above the fan. Though Taylor told us this design is smaller than previous generations of the Switch, this product still packs some significant gaming power and needs the active cooling solution.
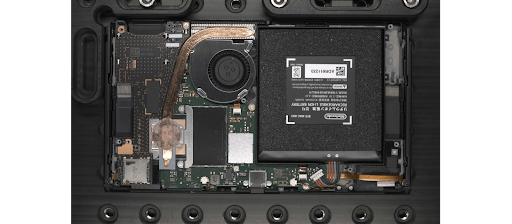
Internal components of the OLED Switch
In this view, Tobias pointed out a personal pet peeve that the battery label of the Switch is upside down! But since it is the same battery used on the older switch, perhaps its original use was oriented properly. After walking everyone through the connectors and major components, we turned back to the platform for closer inspection.
Taylor highlighted the large daughter card on the left while ruefully describing the change from the first generation Switch. Instead of multiple individually replaceable parts, Nintendo has combined them onto a single board. This makes it easier to manufacture and assemble but potentially more expensive to repair. With such a large secondary board, it was surprising to find that it only was held in place with the single board-to-board connector and 2 spring contacts. The foam sitting right above the connector helps hold everything in compression once the product is assembled. And the several screws from the shield serve double duty to hold this board down.
Turning back to the live teardown, I struggled to remove the heatsink and shield can over the main processor while some audience members asked about how the copper conductor was bonded to both sides of the thermal solution. After finally prying the main shield loose, we find more thermal paste connecting the NVidia Tegra chip and some memory. To finish taking the board out, I unplugged the remaining connections and loosened the USB-C shield can to pry it free.
We went back to Instrumental one last time to get a closer look at the mechanical housing. The midframe of the Switch is a diecast magnesium part. Magnesium is often used on tablets and laptops because it is lightweight and easy to manufacture in high volume. On the downside, magnesium parts can warp due to variance in the casting process and often require paint to cover the dull gray passivation finish like in the hinge wells shown below.
Exposed magnesium frame of the OLED Switch Visible are the speakers
Nintendo had highlighted the new speaker design as a big change for this OLED Switch. Instead of the open type speaker design they used on previous products, they went with a sealed back volume design with some aggressive rubber gaskets and dampers to help isolate the speakers from the rest of the product.
One interesting note on the mainframe before we finished up was the plastic spacer that was screwed in under the game card reader. While serving no obvious purpose, we thought that this may have been a holdover from the original Switch which had an antenna in this position. However, with the screen bezels taking up much more space and the product getting a little wider, the Nintendo engineers decided to move the antennas to the rear and fill this with a spacer.
As we drew to the close of the hour, some audience members wanted to take a look inside the controllers. Since it was a little too fiddly to take it apart live in the remaining time, Tobias flipped through a few images on the platform to point out some of the major features.
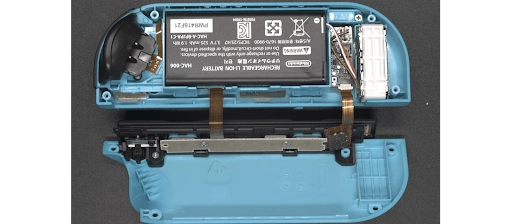
A brief look at the inside of the left Joycon.
There was a lot to unpack on this Switch but it’s clear that Nintendo has done a lot of work to make this one of the most popular gaming systems of all time. We also felt that the amount of stuff that Nintendo provides for just $349 is impressive. Not only do you get a portable yet powerful gaming system, but you also get 2 controllers, a dock, and several accessories. No wonder it’s been sold out and continues to break records!
Chris Li is a former Amazon Product Design Engineering Manager and teardown lead for Instrumental. He brought multiple generations of the Kindle to market and advised on the first Echo and Fire TV products. He also worked as the VP of Product Design at the healthtech startup, PillDrill, which shipped an award-winning medication tracking system. Recently, he joined Agtonomy, an autonomous tractor startup, as a Mechanical Designer.
Author
Related Topics