


The team for the MacBook Air M2 teardown included ex-Apple PDE Tobias Harrison-Noonan, ex-Apple PDE Will Greenbaum, and Product Design Consultant, Will Borzon. While we could’ve reminisced about our favorite, longest-lasting laptops for much longer, we quickly jumped into the teardown and started discussing our hypotheses about the MacBook Air M2 design. Let’s dive in.
First thing’s first, the MacBook Air M2 is much thinner than the previous design. It used to be thicker in the back and tapered down toward the front of the laptop, but this version mimics the MacBook Pro design with consistent density from front to back.
It’s a generally more compact, cleaner ID-design than the M1, too. There aren’t many openings along the side; no holes for the speaker; the edges are smooth and rounded; the bottom has only a few exposed screws. Our guess is that Apple is hoping this design will signify the next generation of MacBook Airs for people to love and keep coming back to for decades.
Getting Started
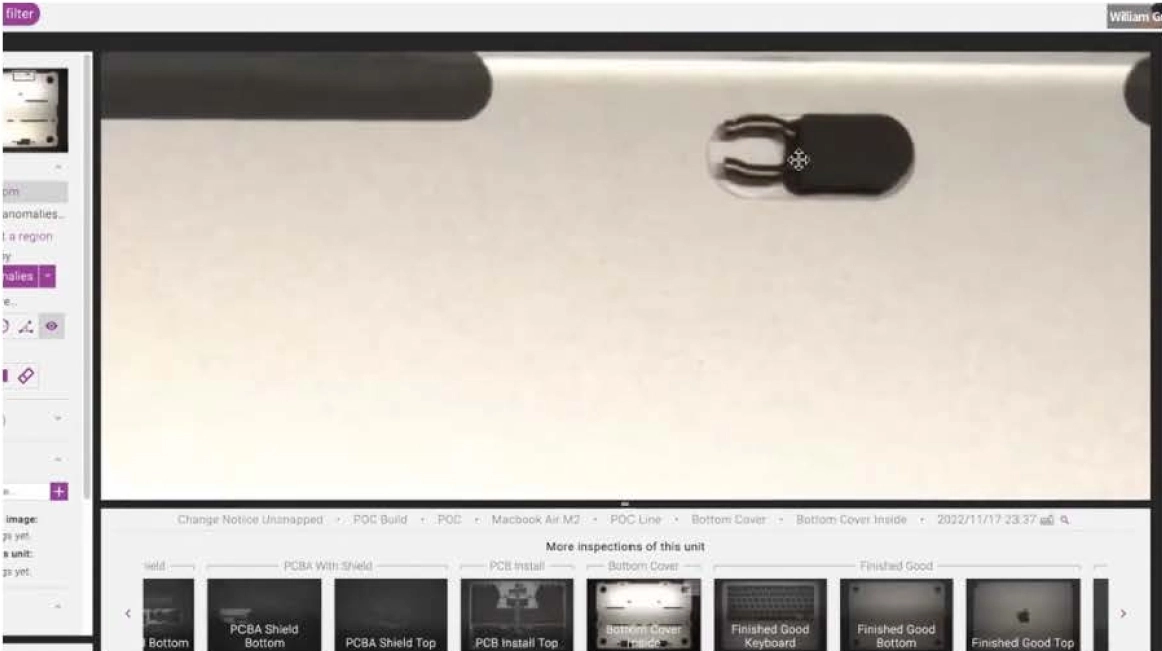
We found the back cover to be pretty interesting. Normally, there’s four screws that pop up, and you’re ready to go. In this design, there are some snaps that are pretty aggressive. We had to get a pry bar and force them up—plus, we learned the hard way that those snaps don’t go all the way around the lid. They’re only on three sides, along with some clips down at the bottom; you need to snap around the three edges, then it slides out.
With the back off, we see a trackpad, batteries, the main board, speakers, hinges in the corner, and a couple of connectors on the side for different modules. The gang’s all here.
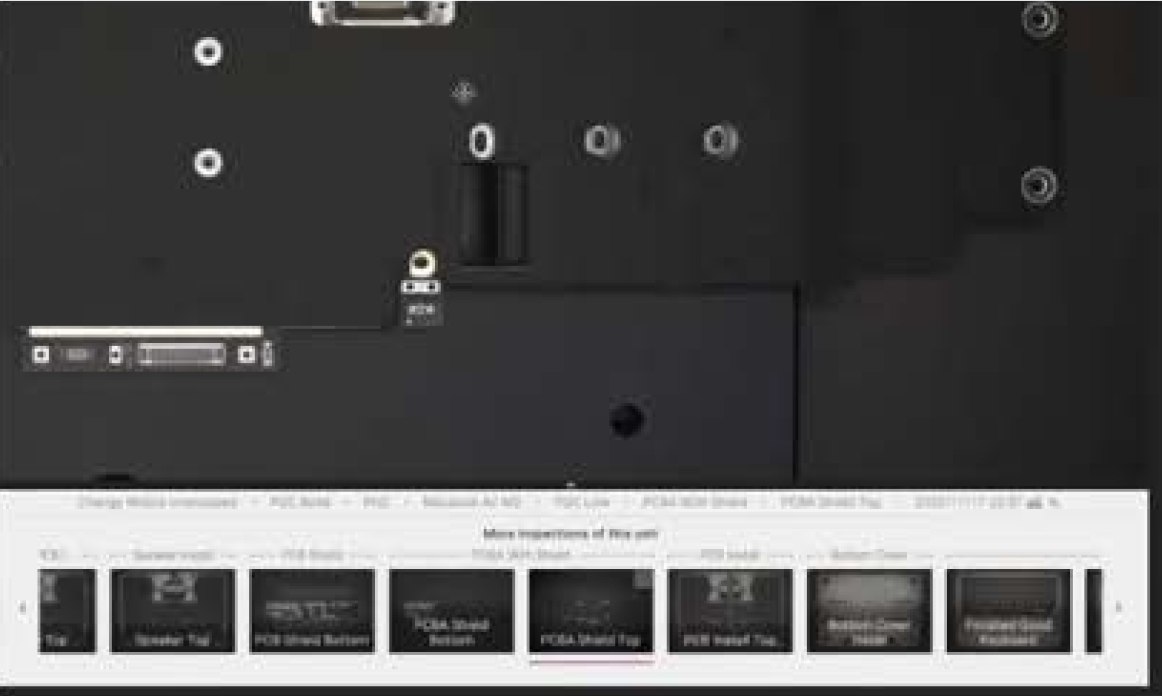
There were more clips that interface with posts in the body of the MacBook. These are custom screws that have a conical shape to them with a bit of an undercut. So, when you’re forcing the back on, it essentially snaps into place. The clips themselves seem to stay in place with an adhesive, and they have some roughness to them, too. We’re speculating here, but it seems like the adhesive was a challenging thing to overcome—from getting the right glue, getting the right positioning, and finding the right placement, while also fitting in the foam. It’s likely someone invested significant time and engineering effort figuring out what would work here.
[Clip that interfaces with the body of the MacBook]
A Look Inside
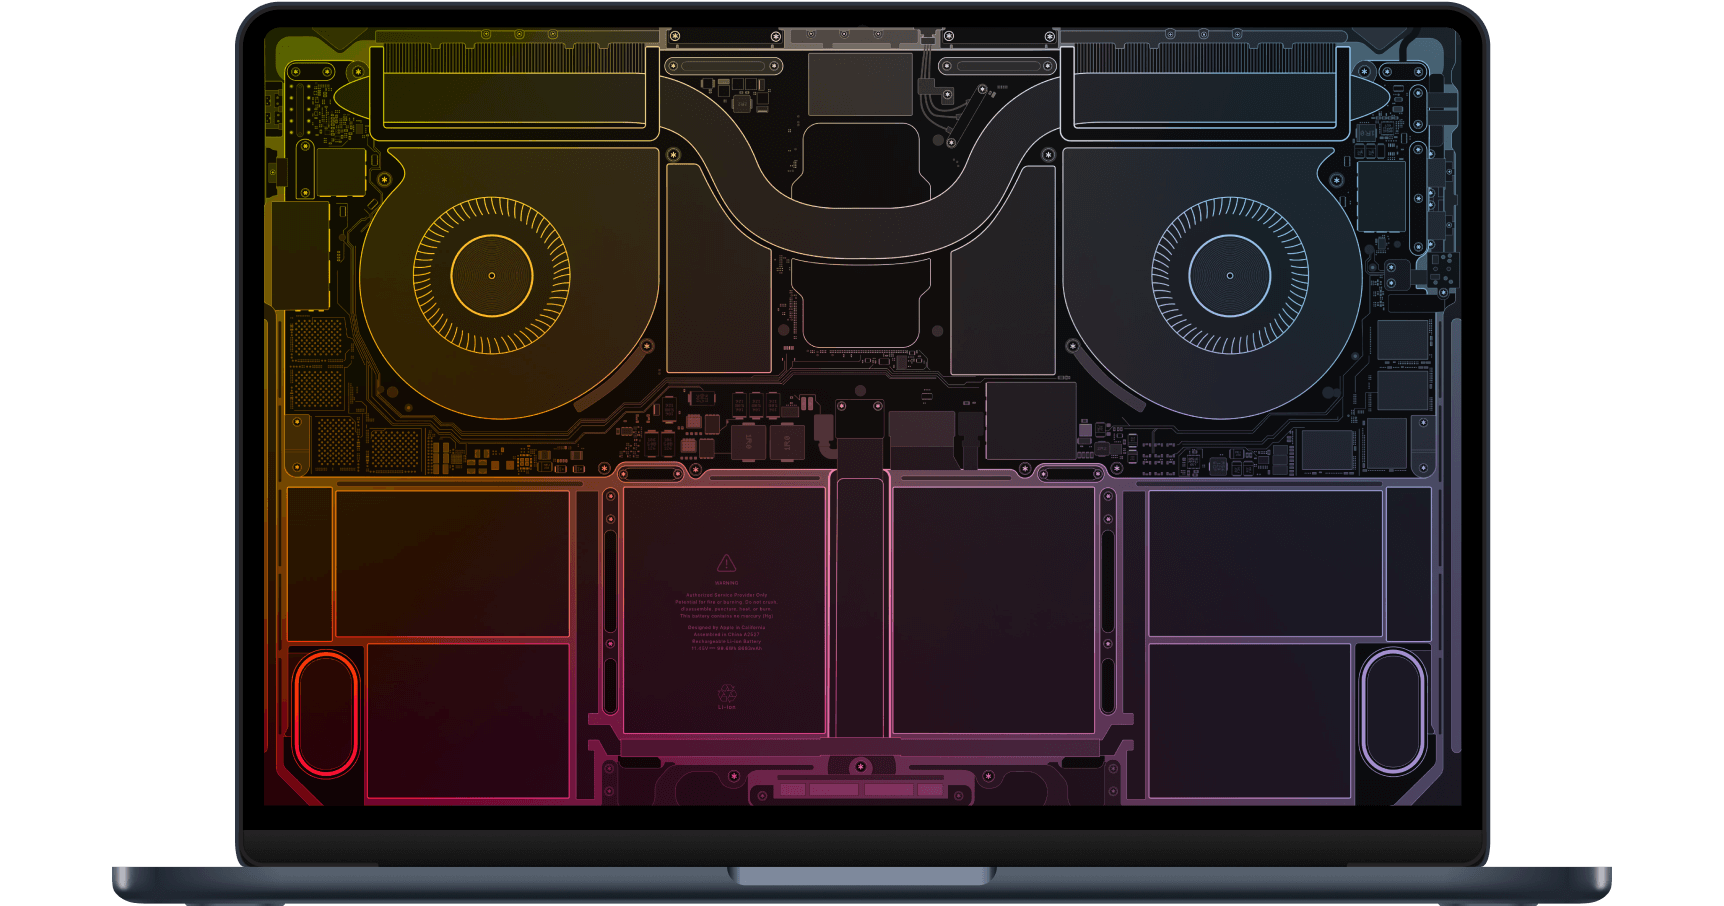
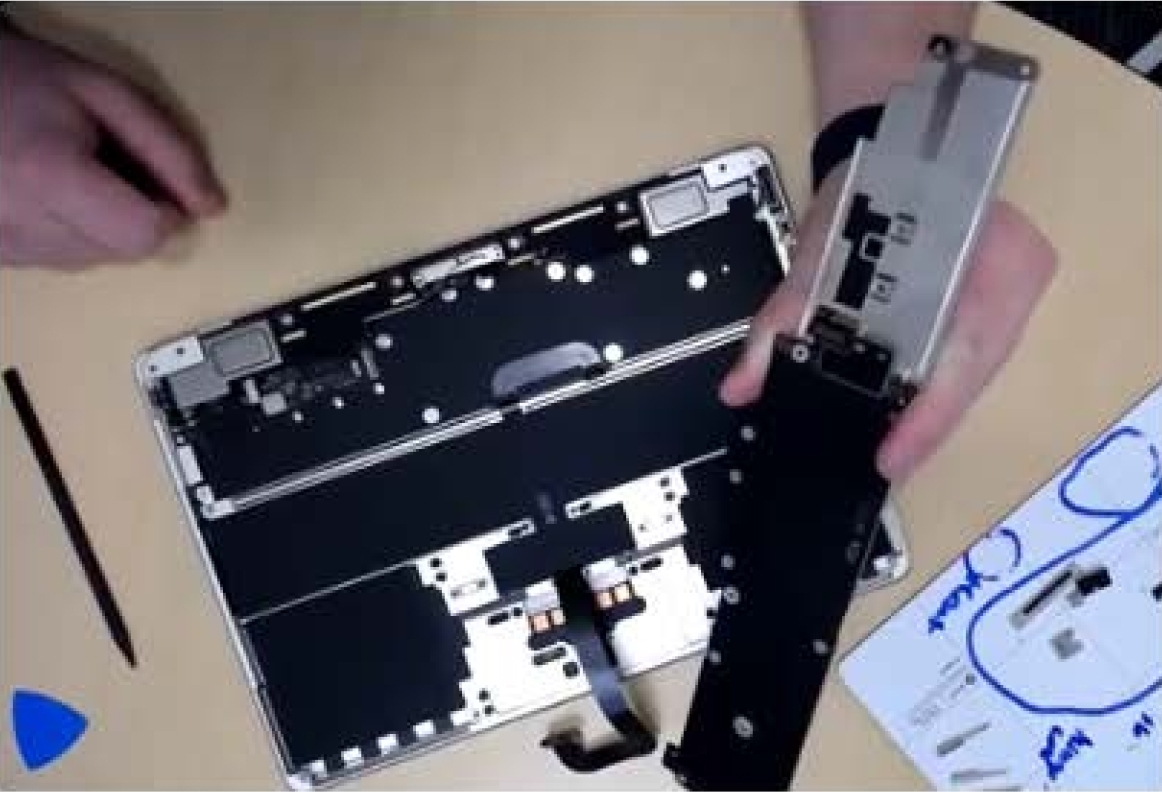
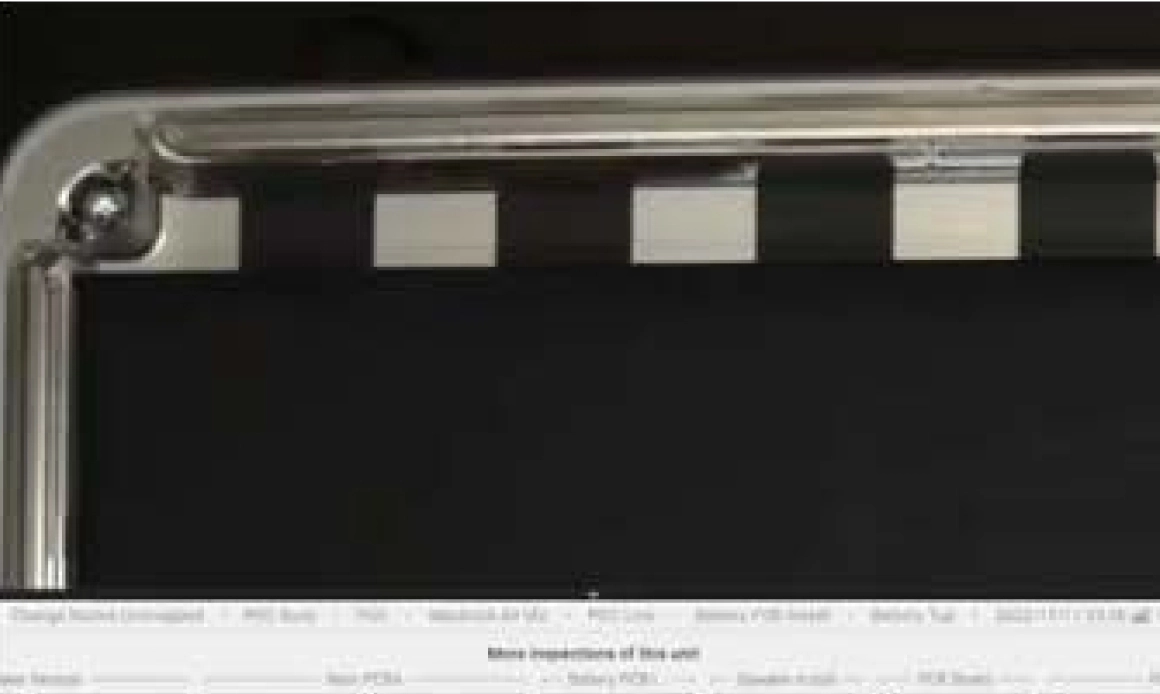
When we open up the device, we see a lot of black tape, which is a signature Apple look. We mostly see the battery and trackpad, which is interesting because most other MacBooks will have speakers on the side or something else in the front. That means all of that functional “guts” are squeezed into the back. You can see cowlings galore for every single connector attached to the main board; there’s one long PCB and lots of little ports on the outside, which all seem to be their own little module. This is something we also saw in the Mac Studio teardown.
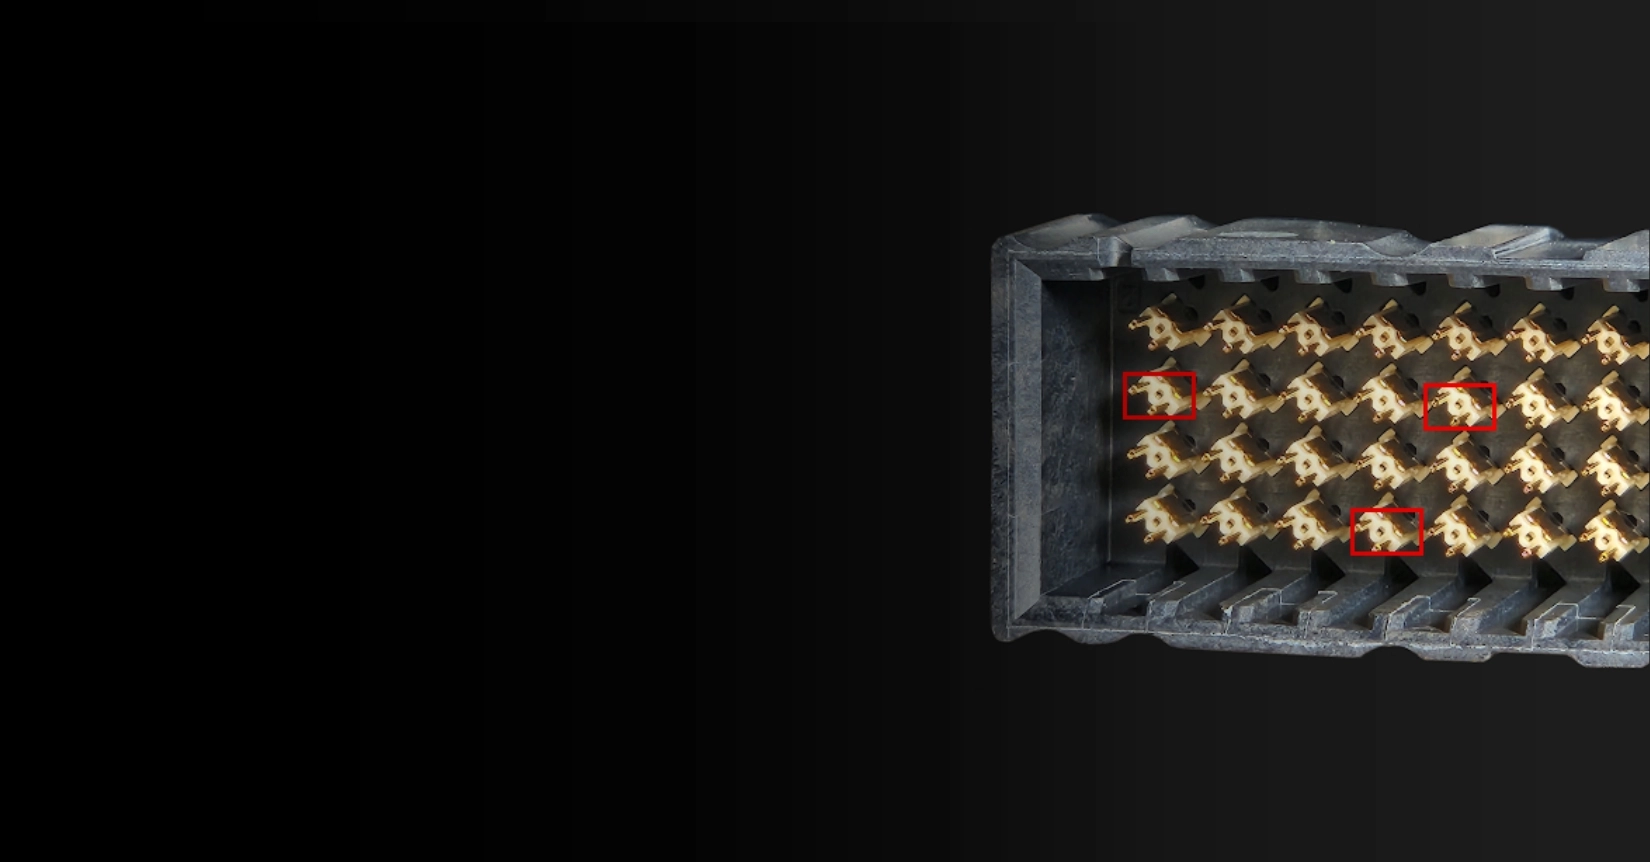
Removing the MLB, there’s a variety of different flex connectors, with 10 to 12 different flex cables. There are two antenna connections with black and gold components on both sides (it appears the antenna is attached to the speakers). There’s also another large shield that we removed to find a secondary board, likely an audio board, with even more underneath it.
Another noticeable design element is that there’s no fan. We were wondering about the thermal design of this—and it’s all passive cooling, which makes the big piece of graphite tape really, really critical. That can be tricky, though, because it’s usually assembled manually by operators.
We find a reinforcing component that has a lot of empty space, with a bracket that seems to prevent anything from getting pushed down. The cavity is quite large, which is atypical for an Apple design to have so much space in this location. We assume it’s an air component, as the Apple engineers needed to get air in here somewhere.
[Reinforcing component with cavity that appears to be an air flow component]
Taking a closer look at the MLB, it’s almost like an iPad board. There’s the audio board and then some covered empty space (maybe there’s a surprise coming for us one day with the next MacBook Air!).
The PCB is where all the magic happens (we had a bit of a tough time getting it open with all the connectors around it). We found our antenna connectors as well as a strange little flex that connects the mainboard to the audio board. We were surprised to see those two boards right next to each other, only connected by a flex, rather than one longer board. Our assumption is that a longer board would be more challenging from a reliability standpoint.
[Flex that connects mainboard to audio board]
There’s another welded-on bracket that has various components, including thermal paste. Thinking back to all the different teardowns that we’ve done, there are many different approaches to thermal management. Here, it looks like they have intentionally made a custom black thermal paste to keep the internal ID, which is impressive.
Thermal paste, though, is a constant headache for a lot of our customers. It’s critical from a functional standpoint, but it gets put on and then closed up, and you never see it again. For this MacBook, we imagine that getting the thermal paste just right was challenging. It’s not just the paste itself but also the volume and positioning of it that’s tricky. If Apple was trying out new black thermal paste here, they probably had to qualify it with a lot of different experiments to make sure they were getting the performance they needed.
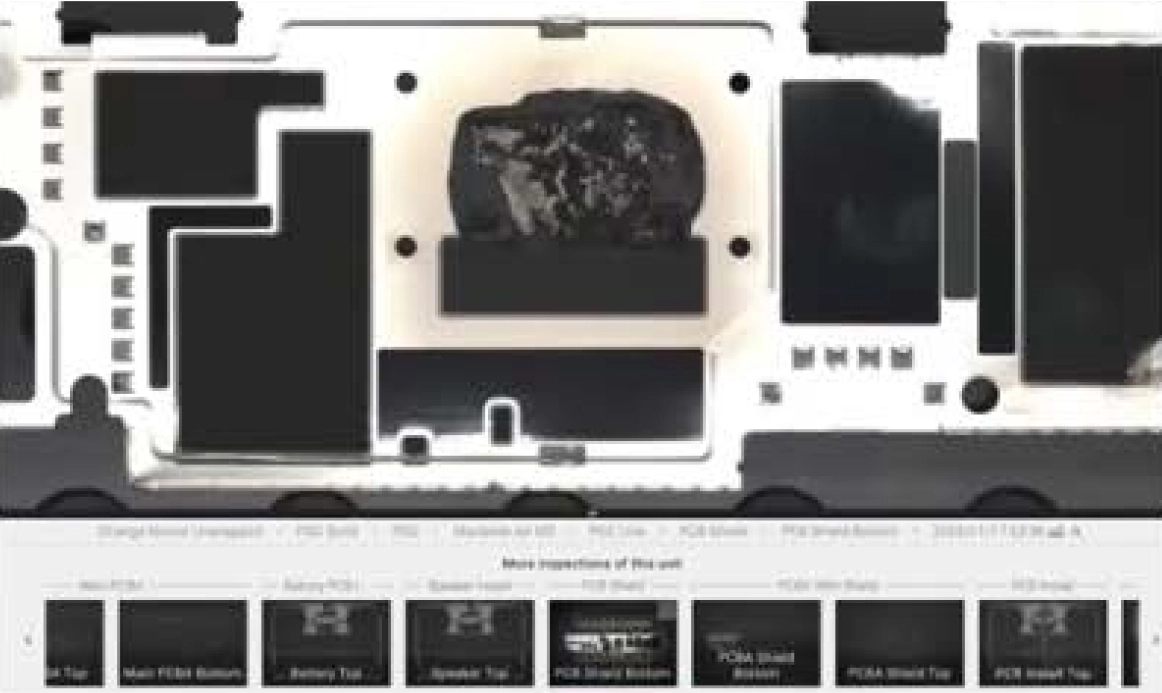
[Thermal paste on bracket]
Switching over to the fun side of the board, we have the M2 chip. This is the powerhouse of the whole computer (we’re amazed at how small these chips are these days). We also see more memory and some extra room for an upgrade if desired. There are some beautiful capsulated shielded chips so everything is inside of a big giant shield can, except for one chip that’s outside of the shield cam—we’re guessing that’s due to an antenna.
We need to call out how incredibly orderly this board is—all of these components are lined up just right. It’s a beautiful piece of art in itself, and we can only dream of the amount of work that goes into making these boards perfectly like this. The black thermal paste is a smart choice too, since they probably didn’t want to tarnish this beautiful board with some ugly pink thermal paste.
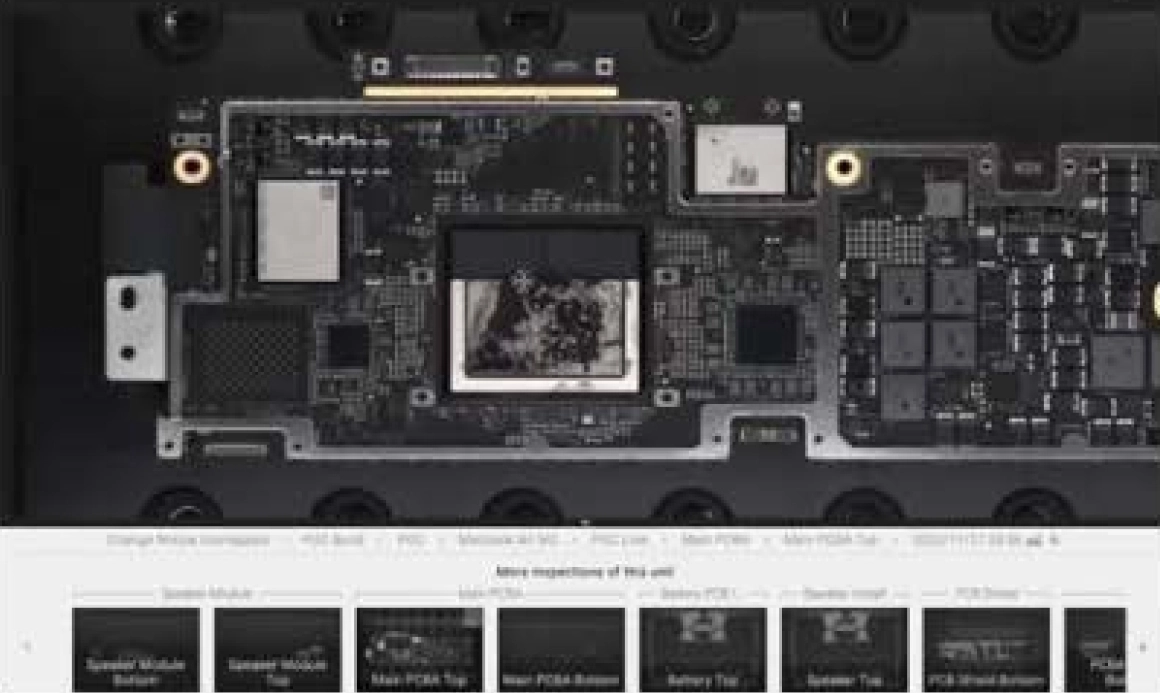
[The M2 chip]
Moving back to the corners: in order to get the antenna module out, we had to remove the cover, which is a pretty complicated part. We think it was probably machined or some other manufacturing process. You can see tiny little grooves, just to provide enough space for these larger screws that are on the hinge. We don’t know the exact purpose for something like this, which is interesting given the amount of effort that was put into it.
The speaker is interesting, too. There’s actually four speakers in this little Macbook—again, impressive. There’s a flex that runs over the antenna, probably to drive the speaker, but it’s all assembled to one big module. You can also see three different colors by the antenna. There’s gold plating, then a solder layer and then yet another brown layer on top of that. We assumed it was sort of a standard LDS antenna with a molded part and then the actual conductive antenna part, but we’re not totally sure of the function of the triple layer approach.
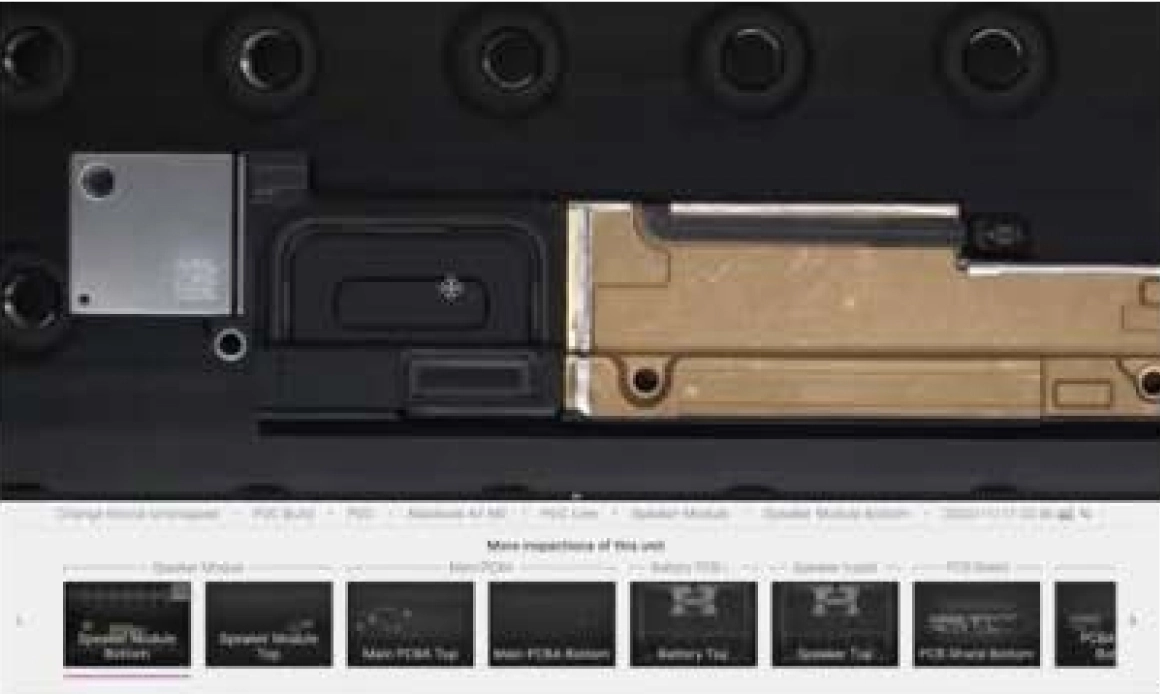
[Flex that runs over the speaker and three different antenna layers]
We also tried to understand if there were any magnets around the perimeter. It looks like there should be magnets, but we don’t think there are. It seems to be more of a stiffening component that would serve as another reinforcement component; perhaps they machined this area out and added these stiffeners in a different material altogether (maybe steel). We assume there’s some sort of balancing element at play here to even out the overall feel and enable opening the lid with one hand.
[Parameter with stiffening component]
We definitely had fun with this one. The teardown had quite a few surprises that we enjoyed speculating over, and again, we’re very impressed with the clean, compact design of this laptop (looking at you, black thermal paste!).
Check out the full teardown of the MacBook Air in Episode 26 here as well as other pieces within our Change Notice series here.
Questions about this teardown or requests for the next one? Contact us at sales@instrumental.com.
Author
Related Topics