Say you’ve got two parts you need to fasten. Glue sounds like a great option, right? It’s strong, it fills in gaps and seems like the right fix. There’s just one problem: it’s an absolute nightmare to control. Glue can corrode materials, mar a product’s cosmetics or unexpectedly weaken, causing the product to fall apart. Engineering teams often aren’t aware of these dangers—and sometimes even when they are, they’re forced to use glue anyway.
At Instrumental, we’ve seen a lot of glue, with some scenarios going well and others going downhill. In this article, we’ll discuss how to select, prepare and apply glue, and we’ll detail best practices for the gluing process. We’ll also recommend our favorite and least-favorite glues.
For starters, let’s get one thing straight: Glue should be your last resort.
If you need to fasten two materials, screws are often your best bet. Your options also include tape, snaps, heat stakes and more — but we strongly prefer screws, as they’re the simplest to get right. They’re strong and reworkable, and have far fewer process dependencies than glue. Glue is temperamental and susceptible to problems, so you should always try very, very hard to solve a problem without it. But let’s say you’ve exhausted all your options. Here’s how to tackle each stage of the gluing process:
1. Selection
Choose your glue based on all the potential scenarios the product may meet in the real world. For example, if your glue forms a water seal, make sure it’ll hold up not just in clean lab water, but in soapy water, saltwater or gasoline-contaminated water. (All are terrible for glue.)
Also know your glue’s properties. Some glues expand while curing, which poses a problem if you need components to be tight and rigid. Glues vary in strength, viscosity, ability to fill gaps and cure time, so do your research.
2. Preparation
Follow the instructions that come with glue to a T. We can’t stress this enough. If you’re unclear about the best way to process a glue, get in touch with the manufacturer directly. We’ve seen a team use a hot plate in place of an oven to prepare a heat cure glue. Don’t take this shortcut — it affects the glue’s strength! Keep an eye out for expired glue or glue that hasn’t been stored correctly. (Did you know most glue should be stored in a refrigerator?)
Watch the handling process like a hawk. Errors like failing to properly mix the materials can and will lead to poor results. Look out for ambient humidity and temperature and dispensed glue volume. Be warned: we’ve seen glues fail three months into a production run.
Also consider the part surfaces themselves. Typically the bonded surfaces must be clean, dry and rough. In particular, precede a gluing operation with adequate cleaning and drying steps, along with a primer or a plasma surface treatment if necessary.
3. Application
Glue application is challenging. Here are our best practices for strengthening your approach:
Adhere to the instructed working time. If you take too much or too little time between dispensing the glue and pressing the parts together, the glue won’t reach its target strength. Read the instructions and time the application of the glue accordingly.
Make sure to run the glue through its paces even if it’s costly. Some glues cost $700 for a small tube, but don’t be tempted to skimp on understanding the true capability of your glue path and equipment — this upfront investment will save you a lot of pain on the backend.
Watch out for cold startup time. In the morning or after lunch, you may need to replace a nozzle or at least run a few test pieces to get the glue flowing again. Even letting the machine sit idle for 10 minutes between parts can affect glue dispense. To handle this, you may need to program in dispensing glue every couple of minutes, even if it’s not going on parts.
4. Cure
Make your curing repeatable. If you have a human squeezing parts together, the uncontrolled pressure will cause some glue joints to be too thin and others to be too thick. Instead, use a controlled fixture to repeatedly set the bond — even if it’s just a simple weight block.
Beware offgasing. Remember, glue is a chemical mixture. Make sure yours is safe for the intended use. At one electronics company, an applied glue contained fluorine, which, when heated, created fluorine gas — which eats metals! The circuits in the product began to corrode, causing delays as engineers labored to figure out what was going wrong.
Don’t rush. Allow your glue to cure before you do mechanical or thermal reliability tests. Be patient, and urge your colleagues to do the same. Many curing profiles call for 24-72 hours to even get to 80% strength.
Our recommendations
Designate a glue specialist. Make gluing someone’s problem — someone who won’t take their eyes off the process. Ensure they have enough bandwidth, and have them keep records, or use our system to remotely monitor the work. Bonus: once the factory management knows you’re keeping an eye on this, they’ll likely be inspired to be more proactive as well.
Create hard stops to control glue volume. Easier process control starts in the design phase! Include a ledge that sets the distance between the two glued surfaces. Glue strength is sensitive to that gap, so control it in your design.
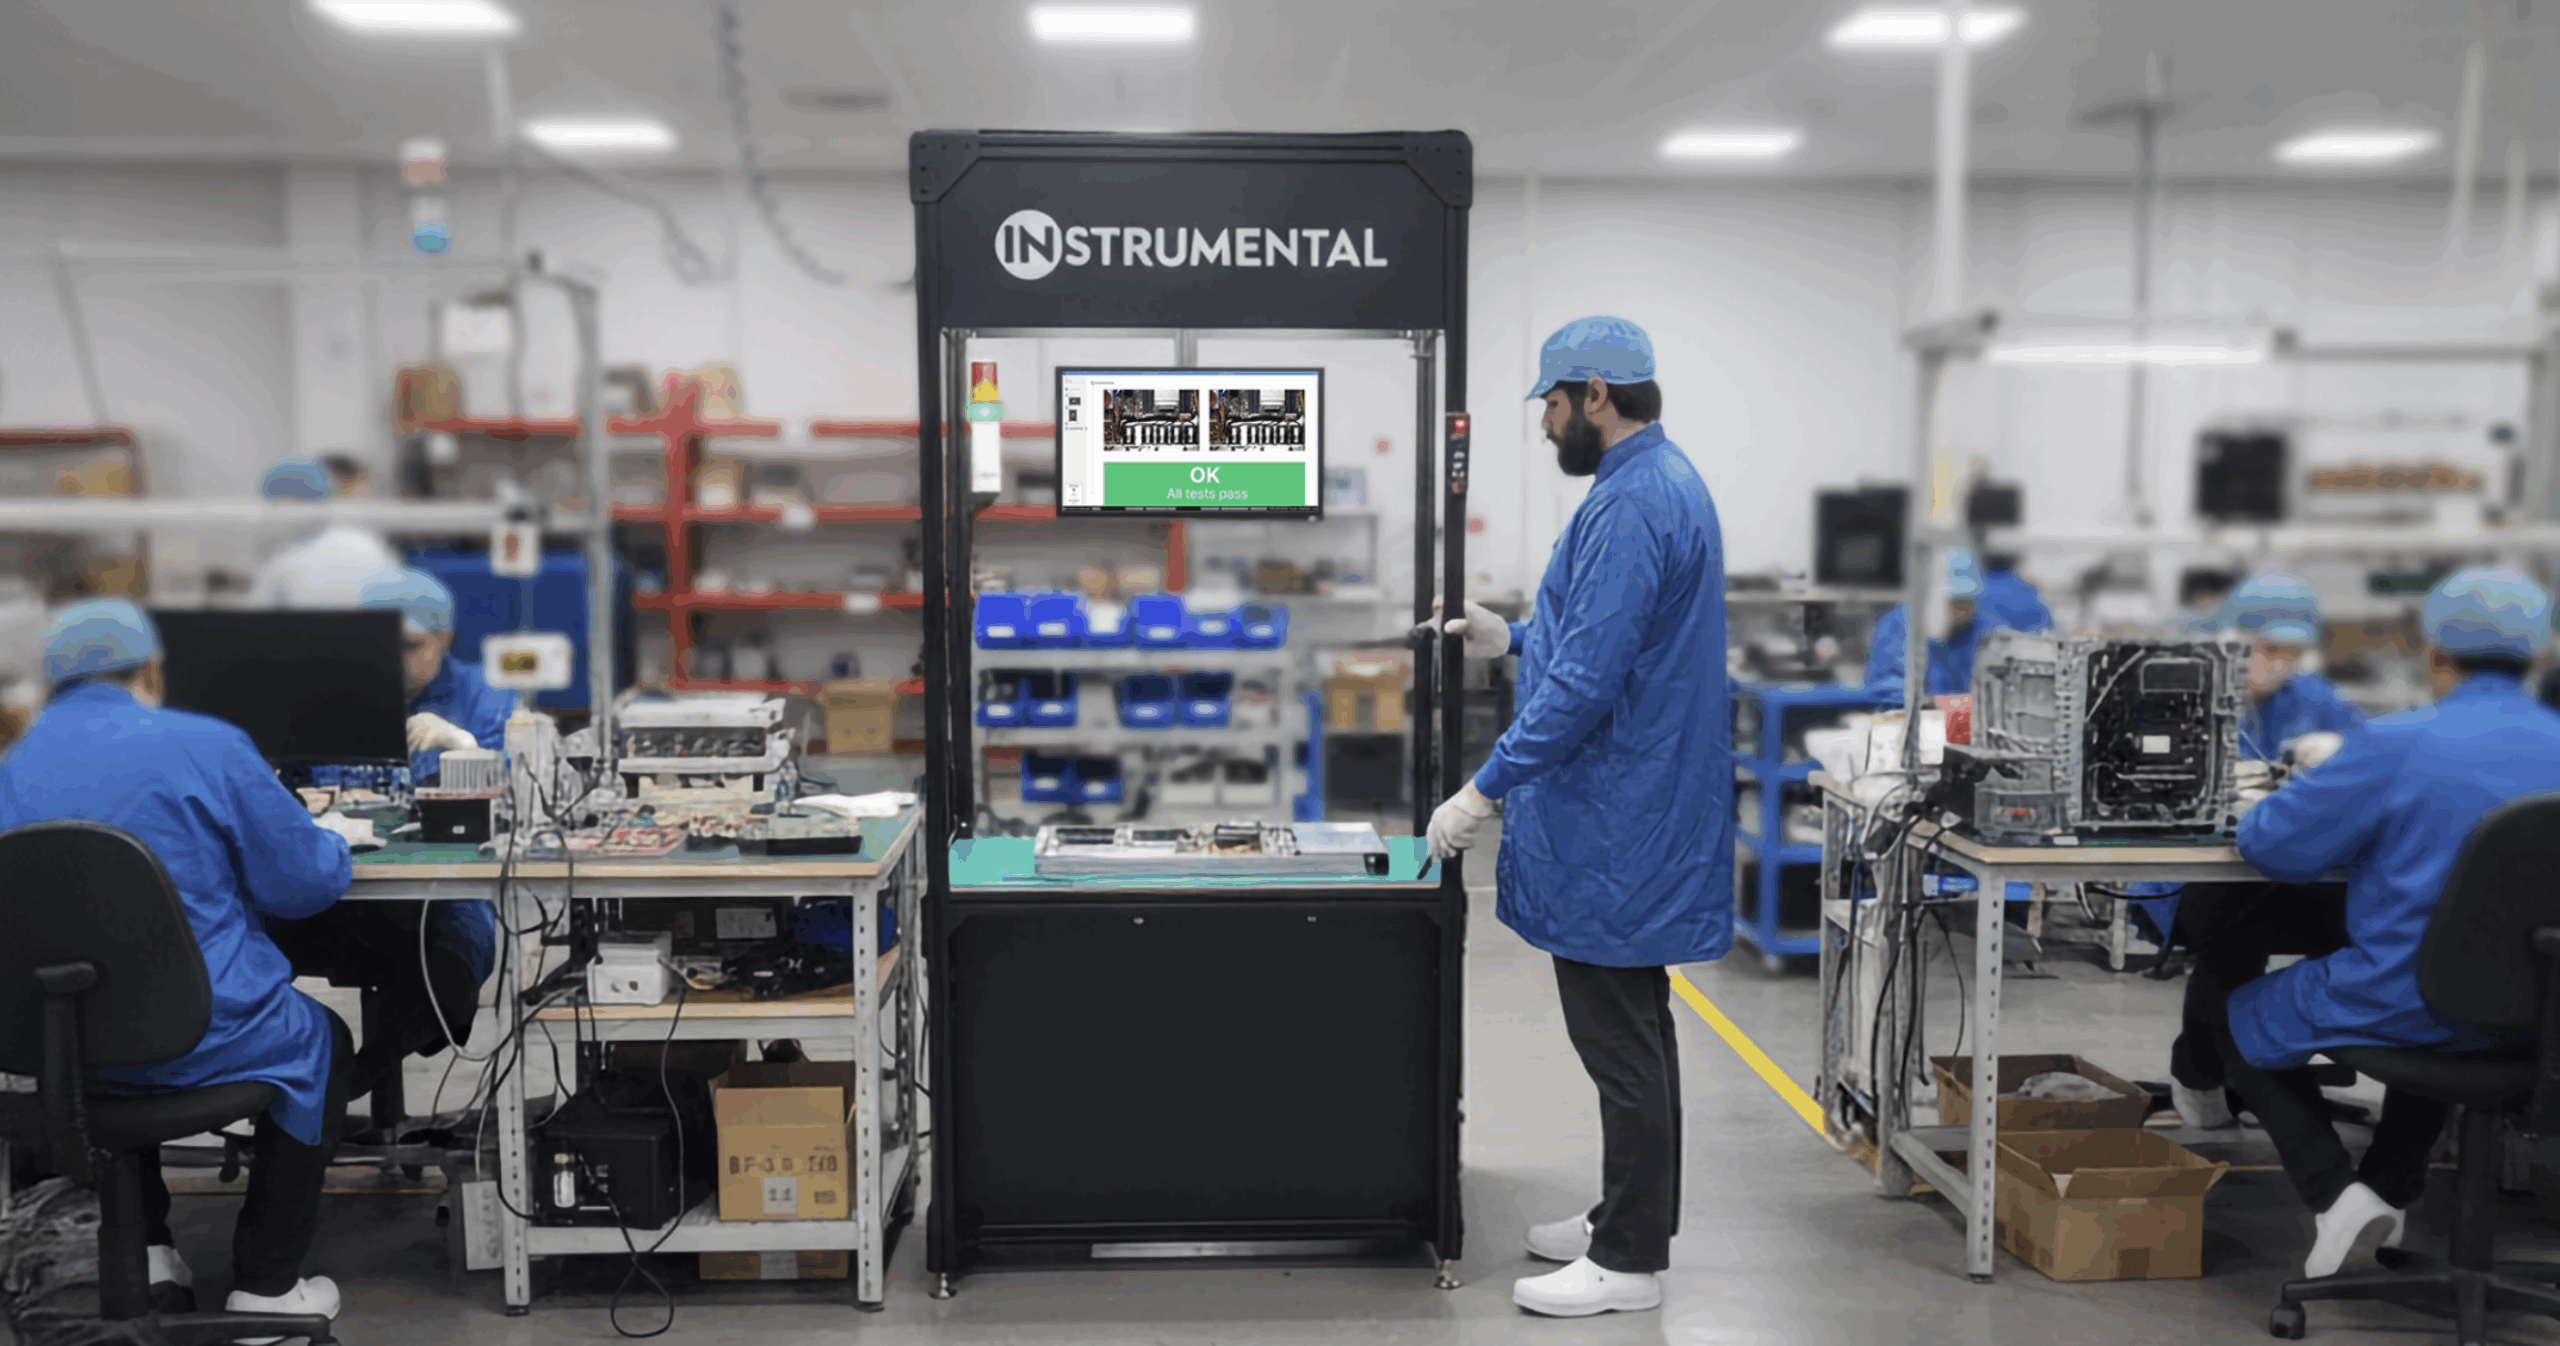
Beware overflow and underfill. If you’re going to use glue, factor in potential variations during glue application. Design areas for glue overflow in case the volume dispensed is a little on the high side, and include design margin so your product still holds together even if the glue area is smaller than expected. Instrumental can help inspect for dispense pattern variation and glue overflow, helping tightly control for mistakes that can lay waste to your work.
Best glue: The best glue we’ve used is the SuperX 777 or 8008. It’s a single-part urethane glue that’s safe for electronics and doesn’t off-gas. It’s difficult to get in the United States, but easily available in Asia. It works like a charm — it won’t corrode a circuit board and doesn’t get so hard that it could rip off a part. It also doesn’t shrink when curing, which means no mechanical stresses.
Worst glue: Don’t use CA glue! Cyanoacrylate glue, also known as Super Glue, is terrible for most consumer products. It’s filled with corrosive chemicals that will offgas, leaving a thin white haze on plastics, PCBs and other components. People have heard of it before — and often have experience Super Gluing stuff in their personal lives — but that doesn’t mean it’s fit for serious engineering. Unless you really really know what you are doing, avoid CA glue.
Conclusion
There are times when glue is right, but if you can design it out of your product from the very beginning, you should. You’ll thank yourself later. If you must use glue, don’t underestimate it. That said, glue can be a reasonable consideration if you build a top-quality process around it. Choose and prepare glue with care, monitor the gluing process vigilantly and empower your team to handle the work with care. Glue is such a challenge-laden product to work with that best practices are critical — following them will maximize your chances for the best result possible.


